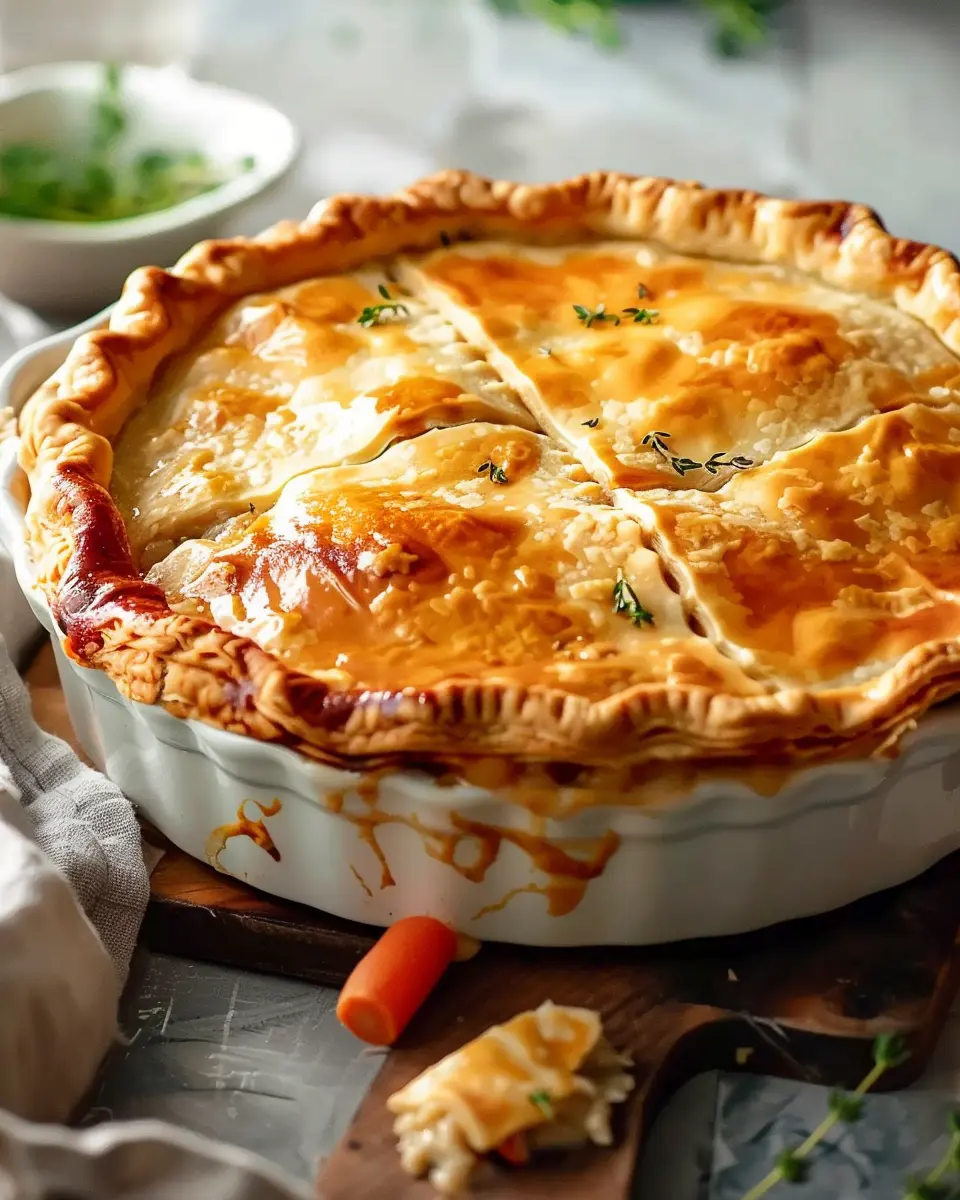
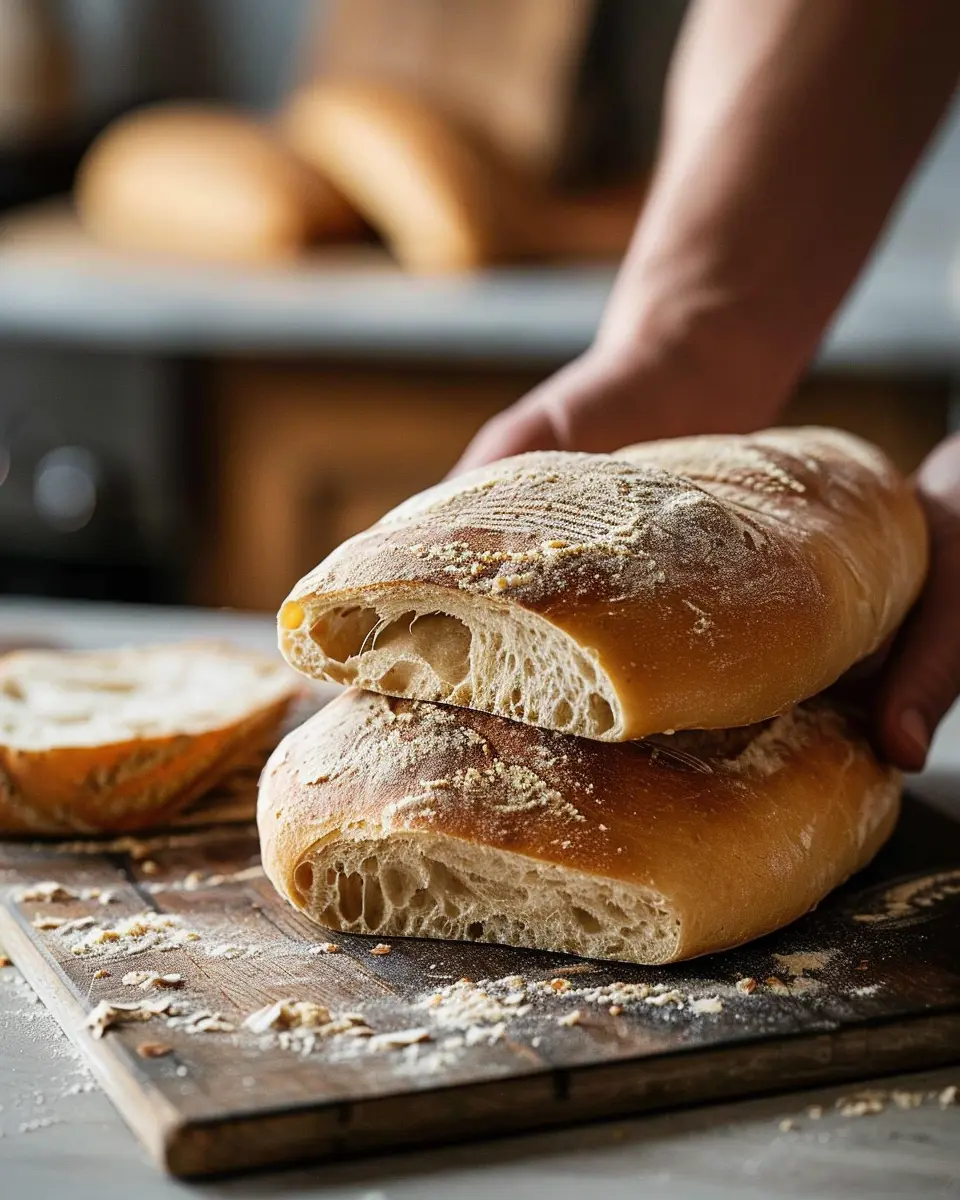
Introduction to the 7 Common Bread Making Mistakes
Why Bread Making is Worth It
Making your own bread is not just a trend; it’s a delightful journey that can transform your kitchen into a cozy haven. The aroma of freshly baked bread wafting through your home is something special—an invitation to gather and nourish those you love. According to a study by the University of Illinois, over 60% of people who bake their own bread report feeling a greater sense of satisfaction compared to store-bought options. Why? Because you control every ingredient, from the flour to that special touch, like adding garlic or herbs to elevate your loaf.
The Satisfaction of Homemade Bread
Imagine pulling a warm loaf from the oven, its crust golden and crisp, ready to be sliced. That moment is a reward in itself. Baking bread can also serve as a creative outlet—play with different flours, shapes, and flavors until you find your favorite combinations. For many, it becomes a mindfulness practice, a way to unwind after a busy day. However, as with any craft, the journey can come with its share of bumps.
To help you navigate the intricacies of bread making, we’ll delve into the 7 bread making mistakes that can trip up even the most enthusiastic baker. You may have experienced a dense loaf or a dough that just won’t rise, and that’s okay! It’s all part of the learning process.
If you find yourself asking questions like, “Why did my dough not rise?” or “What did I do wrong during the kneading process?” you’re not alone. These common pitfalls can often be fixed with just a little guidance. Whether you’re making a classic white loaf or experimenting with whole grains, understanding these mistakes will empower you to bake with confidence.
Before you get started, I recommend checking out resources like King Arthur Baking for expert insights or even reading about the science behind bread making. By addressing these errors upfront, you’ll be well on your way to perfecting your own homemade bread. Let’s get started!
Ingredients for Bread Making
Creating the perfect loaf begins with understanding the essential ingredients. Here’s what you’ll need to get started.
Basic Ingredients Needed
Every great bread starts with a few basic components:
- Flour: All-purpose or bread flour is essential. The type of flour affects the texture and rise of your bread.
- Water: Vital for hydrating the flour and activating the yeast. Use warm water to kickstart the process.
- Yeast: Either active dry or instant yeast will do the trick. This little powerhouse is responsible for making your bread rise.
- Salt: Enhances flavor and strengthens gluten, contributing to the bread’s overall structure.
Optional Ingredients for Flavor and Variety
Once you’ve mastered the basics, consider adding some optional ingredients to elevate your bread:
- Sweeteners: Honey, sugar, or agave can sweeten your loaf and create a deeper crust.
- Fats: Olive oil, butter, or even Turkey Bacon fat can enrich the dough, giving it a delightful flavor and texture.
- Herbs and Spices: Experiment with rosemary, garlic, or cinnamon for a flavor boost.
Trying new combinations can help you avoid the common pitfalls detailed in the 7 bread making mistakes. With just a few tweaks, you can create a variety of delicious breads that’ll wow your friends and family! If you want to dive deeper, check out King Arthur Baking for a plethora of bread recipes and tips. Happy baking!
Preparing Bread: Step-by-Step Guide
Making bread at home can feel like a daunting task, but with the right approach and a little patience, you’ll find the process more rewarding than you could imagine. Here’s a friendly, step-by-step guide to get you started on your bread-making journey—let’s avoid those common 7 bread making mistakes and create something delicious.
Gather your ingredients
Before diving into the dough, take a moment to gather all your ingredients. For a classic bread, you’ll need:
- Flour: All-purpose or bread flour work well.
- Yeast: Active dry or instant yeast.
- Water: Warm, around 110°F (43°C) is typically ideal.
- Sugar: Just a tablespoon to feed the yeast.
- Salt: Essential for flavor.
- Olive oil: Optional but can add moisture and richness.
By having everything ready, you’ll minimize the chance of unintended interruptions—one of the common 7 bread making mistakes.
Mix the dry ingredients
In a large mixing bowl, combine your dry ingredients. Start with your flour, then sprinkle in the yeast, sugar, and salt. Make sure to keep the salt and yeast on opposite sides of the bowl initially; salt can deactivate yeast if they come into contact too soon.
Activate the yeast
If using active dry yeast, the next step is crucial. In a measuring cup, combine your warm water with that tablespoon of sugar, then add the yeast. Let it sit for about 5-10 minutes until it bubbles and foams. This indicates your yeast is active and ready to work its magic—if it doesn’t foam, you might need to start over, as your yeast might be dead.
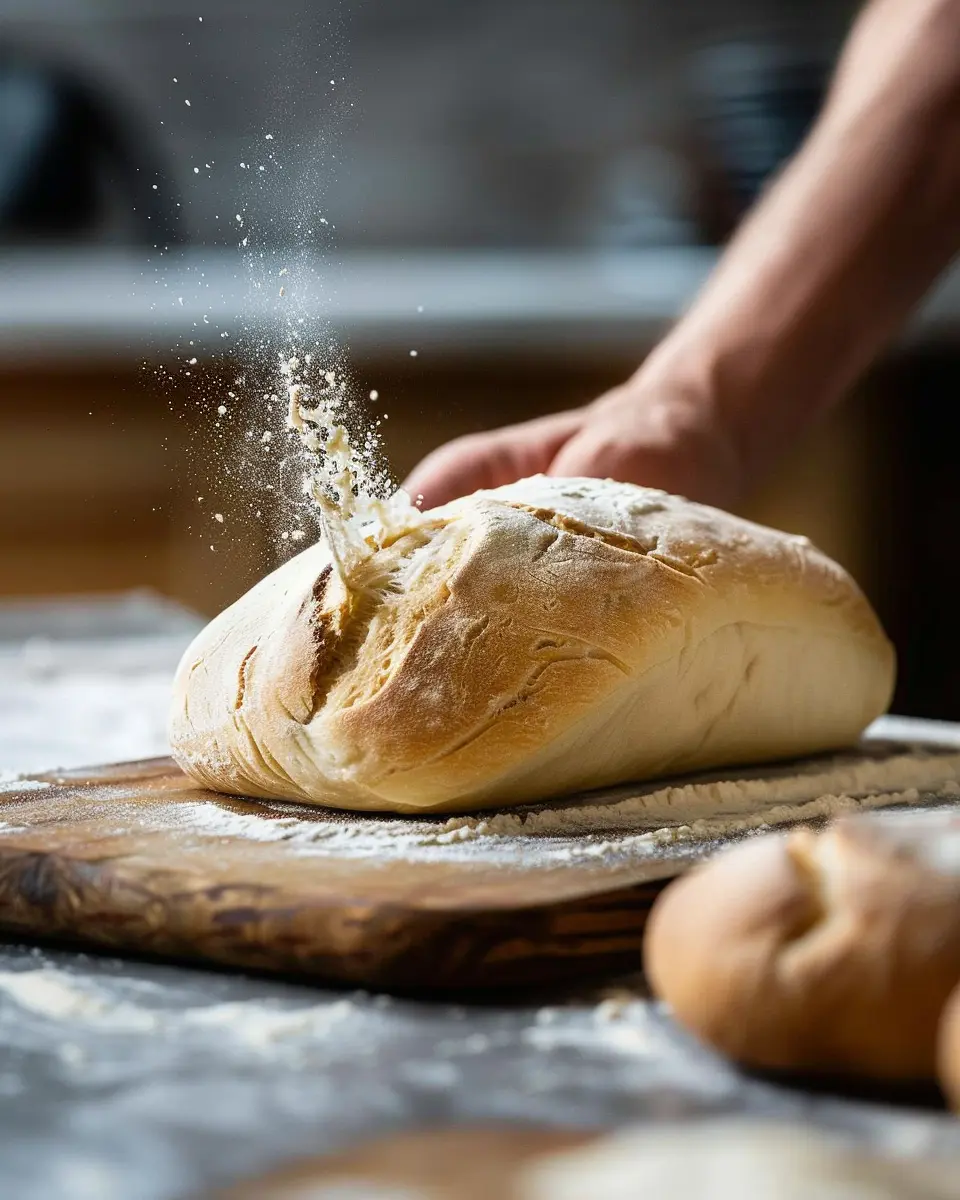
Combine and knead the dough
Pour the activated yeast mixture into your bowl of dry ingredients. Gently mix with a wooden spoon or spatula until it forms a shaggy mass. Once combined, turn the dough out onto a lightly floured surface and knead for about 8-10 minutes until smooth and elastic. Not sure how to knead? It’s all about folding and pressing with the heels of your hands. Try to avoid the natural inclination to add extra flour—too much can lead to denser, less delightful bread.
First rise
After kneading, place your dough in a greased bowl, cover it with a damp cloth or plastic wrap, and let it rise in a warm place for about 1-2 hours, or until it doubles in size. This is the time to step away and relax—maybe even enjoy a good cup of coffee (or tea!).
Shape the dough
Once your dough has risen, it’s time to shape it. Gently punch down the dough to release the air. Transfer it to a floured surface and shape it into a loaf or whatever form you desire. You could even make rolls if you’re feeling adventurous.
Second rise
Place your shaped dough into a greased loaf pan or on a baking tray. Cover it again and let it rise for another 30-60 minutes, until it puffs up nicely. This final rise ensures your bread will have that light, airy texture we all love.
Preheat the oven
While the dough is completing its second rise, preheat your oven to 375°F (190°C). This step can be easy to forget, yet having a fully preheated oven prevents it from falling flat—another of the 7 bread making mistakes to watch out for.
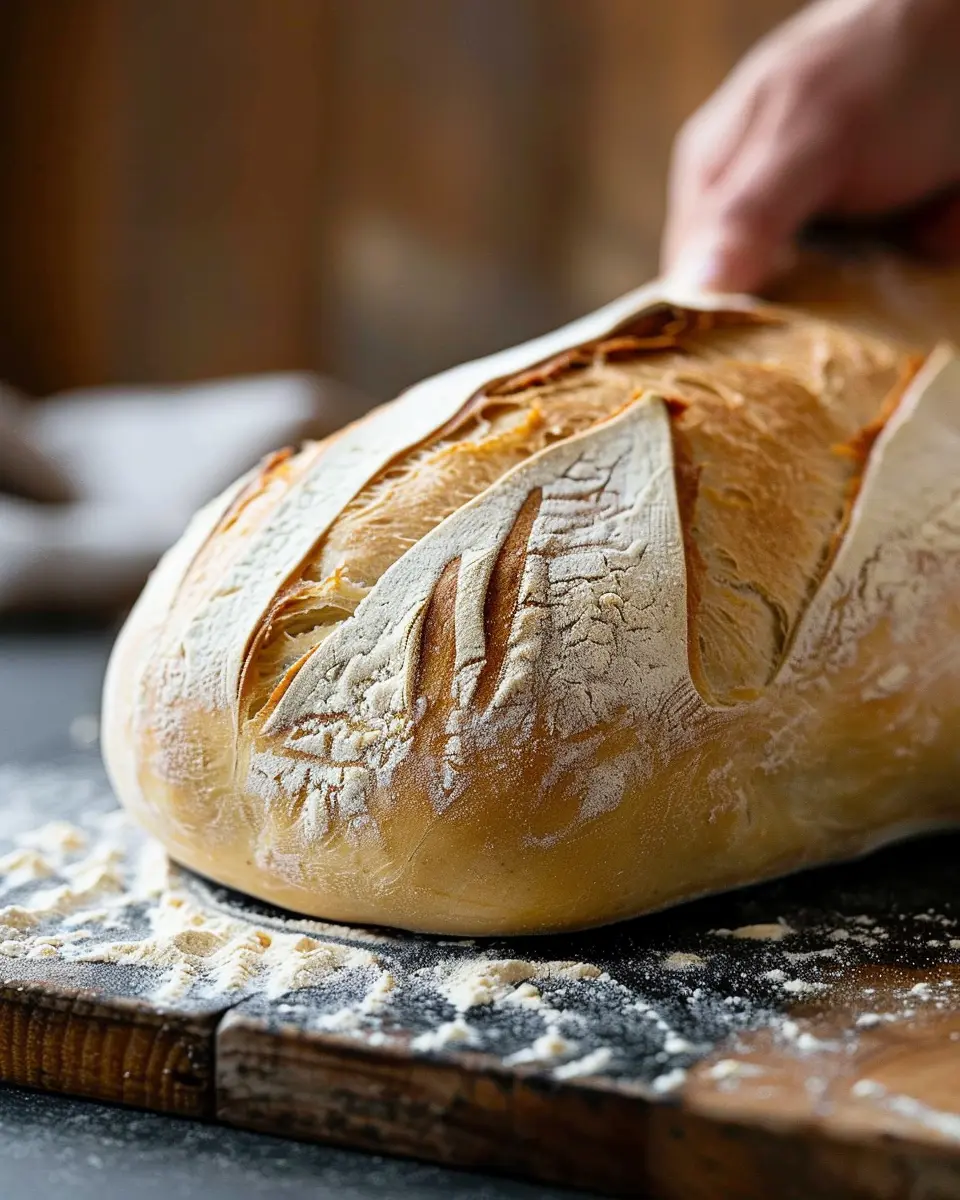
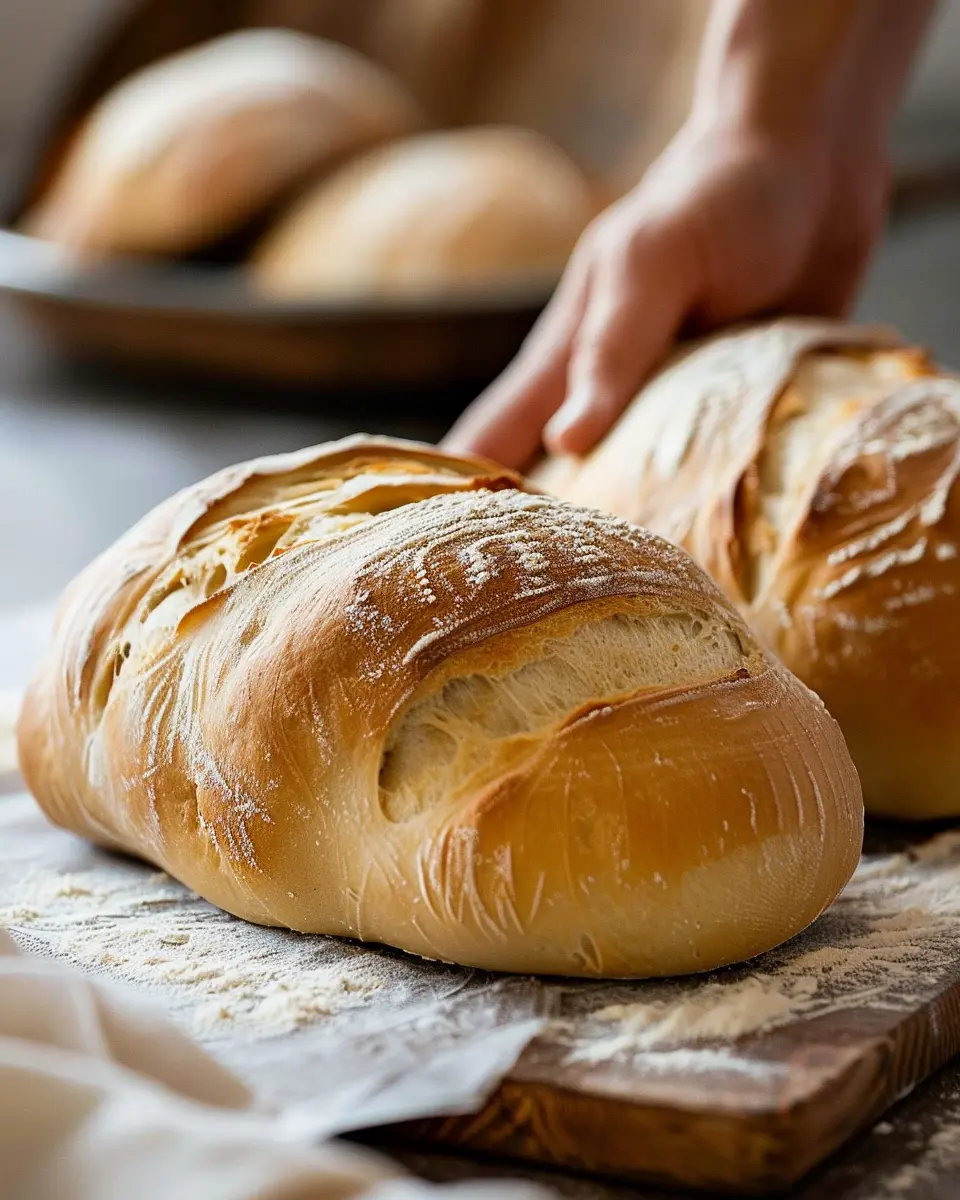
Bake your bread
Once the oven is ready and your dough has risen, it’s time to bake. Pop it in and let it bake for about 25-30 minutes or until golden brown. If you tap the bottom, it should sound hollow—this is a great sign that it’s done.
Finally, remove it from the oven and let it cool on a wire rack. Slicing into freshly baked bread is an almost magical experience.
Remember, every baker makes mistakes—embrace the process, learn from it, and most importantly, enjoy the delicious results! Happy baking!
Variations of Homemade Bread
Homemade bread can elevate any meal and is a rewarding endeavor, offering endless creative possibilities. Let’s explore some delicious variations, perfect for any occasion!
Whole Wheat Bread
If you’re looking for a nutritious alternative, whole wheat bread is your go-to. Packed with fiber and flavor, it’s a fantastic base for sandwiches or toast. To make your own, simply substitute half of the all-purpose flour in your favorite recipe with whole wheat flour. This will enhance the texture and depth of flavor. For a sweeter twist, consider adding a tablespoon of honey or maple syrup. This slight modification creates a delightful contrast with the nutty taste of whole grains.
You might be wondering, how often do you make small tweaks in your cooking? It’s all about experimenting until you find your perfect blend!
Herb and Garlic Bread
Who doesn’t love the aroma of fresh herbs and garlic? This variation brings an aromatic twist that pairs beautifully with pasta dishes or can stand on its own as a scrumptious appetizer.
To create herb and garlic bread, simply mix minced garlic and your favorite herbs—like rosemary and thyme—into your dough. You can also create a delicious garlic butter spread to slather on top before baking. Not only does this add flavor, but it also makes for an impressively fragrant loaf. This style could also help avoid some common 7 bread making mistakes!
Sourdough Starter Bread
Sourdough bread is an art form, and using a sourdough starter can be a labor of love. This naturally fermented bread is known for its tangy flavor and chewy texture. If you’re interested in diving into the world of sourdough, consider starting with a basic recipe that includes flour, water, and salt, and let your starter work its magic over time.
Don’t let the idea of creating a starter intimidate you! There are plenty of resources available, like King Arthur Baking or The Fresh Loaf to guide you through the process.
By trying out these various bread types, you can enjoy homemade bread that suits any palate and occasion! Why not gather a few friends for a bread-baking day?
Baking Tips and Notes for Bread Making
Tools and Equipment You’ll Need
Creating the perfect loaf requires a few essential tools, so here’s your starter list:
- Mixing bowl: A large bowl for combining your ingredients.
- Measuring cups and spoons: Precise measurements are crucial.
- Dough scraper: Handy for cutting and shaping your dough.
- Baking sheet or loaf pan: Choose based on the type of bread you’re making.
- Instant-read thermometer: Ensures your bread is baked to perfection.
Common Troubleshooting Tips
Even seasoned bakers can face challenges, so knowing how to troubleshoot can save the day. Here are some quick fixes for common 7 bread making mistakes:
- Dough too dry? Add a tablespoon of water gradually.
- Bread flat? Check your yeast’s expiration date; it should be active.
- Crust too hard? Brush with water before baking for a softer finish.
If a loaf doesn’t rise, it could be your environment or the yeast itself. A cozy, warm spot is ideal for rising dough; try placing it near a warm oven or softly heated surface. If you need more guidance, check out this expert resource on bread troubleshooting.
Remember, every baker makes mistakes—embrace them as part of your learning journey!
Serving Suggestions for Homemade Bread
Nothing beats the aroma of freshly baked bread wafting through your kitchen! Now that you’ve perfected your bread-making skills, let’s explore some delightful ways to enjoy it.
Pairing with Spreads
Homemade bread is a blank canvas just waiting to be adorned with your favorite spreads. Think about versatile options like:
- Butter or Olive Oil: Simply spread a pat of butter or drizzle some high-quality olive oil for a simple yet luxurious experience.
- Cream Cheese and Chives: This combination brings a delightful creaminess that pairs wonderfully with a soft loaf.
- Avocado Spread: Try smashing an avocado with a sprinkle of salt and pepper for a trendy, health-conscious option.
These spreads add flavor and nutrition, making your bread even more enjoyable!
Using It in Sandwiches or Toast
Let’s talk sandwiches! Whether you’re having a casual lunch or an elegant brunch, homemade bread elevates any sandwich.
- Turkey Bacon and Avocado: Layer turkey bacon, fresh avocado, and crisp lettuce between two slices for a deliciously filling treat.
- Chicken Ham and Cheese Melt: Add some melted cheese to the mix and grill it for a delightful gooey sandwich.
- Open-Faced Toast: Top with roasted vegetables, or lean protein for a meal that’s as pretty as it is delicious!
Using your bread creatively not only extends its life but also enhances your meals, turning everyday dishes into gourmet experiences. Enjoy experimenting and happy eating!
For more about common bread making pitfalls, check out this guide on 7 bread making mistakes that can hinder your baking journey.
Time Breakdown for Bread Making
Preparation time
When you’re gearing up to make your bread, you’ll want to carve out about 15-30 minutes for preparation. This includes gathering your ingredients, measuring them, and mixing your dough. Pro tip: prepare your workspace by getting everything organized to avoid common 7 bread making mistakes.
Rising time
Patience is key here! The dough needs time to rise, usually around 1 to 2 hours, depending on the recipe and room temperature. Keep it cozy in a draft-free spot—this helps with fermentation.
Baking time
Once your dough is nicely risen, baking typically takes about 25-35 minutes. You’ll know it’s done when it has a beautiful golden color and gives a hollow sound when tapped on the bottom.
Total time
In total, expect your bread-making adventure to take around 2 to 3 hours. Yes, it’s a bit of a time investment, but the aroma of fresh bread wafting through your kitchen is totally worth it! Don’t forget, the hands-on time is minimal, while the rising is just a time you can use to relax or tackle other tasks.
Find more expert baking tips here to help you avoid those 7 bread making mistakes and enjoy your homemade bread!
Nutritional Facts About Homemade Bread
Calories per slice
Homemade bread typically contains around 80-100 calories per slice, depending on ingredients used. This simple, nourishing food can replace processed options, offering you control over what goes into your meal.
Macronutrient breakdown
When making your homemade bread, you get a chance to balance the macronutrients:
- Carbohydrates: Approximately 15-20 grams, providing energy.
- Proteins: Around 3-4 grams, essential for muscle repair and growth.
- Fats: Varies, but it can be as low as 1 gram if you opt for minimal oil.
Health benefits of fresh bread
Freshly made bread can be a wholesome addition to your diet. Loaded with nutrients and fiber, it promotes gut health and provides a sense of satiety that processed bread often lacks. Plus, it’s a fun and creative way to avoid 7 bread making mistakes and experiment with flavors and textures while ensuring you’re enjoying a healthy option.
If you’re interested in the nutritional benefits of whole grains, check out resources from Harvard Health to learn more. Making bread at home not only nurtures your body but also gives you a sense of accomplishment and joy. So, why not start baking today?
FAQs about Bread Making
What can I do if my bread doesn’t rise?
If you find yourself facing the common issue of bread that just won’t rise, don’t fret! First, check if your yeast is fresh – expired yeast is a chief culprit behind flat bread. Try activating it in warm water (around 100°F) with a pinch of sugar for about 5-10 minutes. If it’s bubbly, you’re in business! Also, ensure your dough is in a warm, draft-free environment while it rises. If you’ve made one of the 7 bread making mistakes, such as kneading too little or too much, consider adjusting your technique for better results next time.
Can I freeze homemade bread?
Absolutely! Freezing homemade bread is a fantastic way to make it last longer. Just make sure it’s completely cooled before wrapping it tightly in plastic wrap and placing it in a freezer bag. For the best flavor and texture, consume it within three months. When you’re ready to eat, simply thaw it at room temperature or pop it directly in the toaster.
How should I store homemade bread?
To keep your beloved bread fresh, proper storage is crucial. Ideally, store it in a paper bag at room temperature; this helps absorb excess moisture, preventing a soggy crust. If you plan on consuming it within a few days, a kitchen bread box or a cloth bag will also work wonders. For longer storage, the freezer method is your best friend.
For more baking tips, check out the King Arthur Baking Company or Breadtopia for detailed guides and community advice!
Conclusion on Making Perfect Bread
Embrace the process
Making bread is a beautiful journey of trial and error. Don’t be disheartened by the 7 bread making mistakes we’ve discussed; instead, view them as stepping stones to mastering your skills. As you knead, rise, and bake, you’ll discover the tactile joy in working with dough. The aroma of fresh bread is an experience like no other!
Encouragement for first-time bakers
For those stepping into the world of bread-making for the first time, remember that each loaf is a unique masterpiece. Allow yourself to enjoy the process—every bubble and crust is a part of your story. If your first attempt doesn’t come out as planned, don’t give up! Consider reading this article on baking tips for beginners to build confidence. Happy baking!
Print7 Bread Making Mistakes That Could Ruin Your Homemade Loaf
Learn about the common mistakes people make when baking bread and how to avoid them for perfect homemade loaves.
- Prep Time: 30 minutes
- Cook Time: 30 minutes
- Total Time: 1 hour
- Yield: 1 loaf
- Category: Baking
- Method: Baking
- Cuisine: American
- Diet: Vegetarian
Ingredients
Instructions
Notes
- Always measure ingredients accurately.
- Use a kitchen scale for best results.
- Let dough rise in a warm, draft-free place.
Nutrition
- Serving Size: 1 slice
- Calories: 120
- Sugar: 1g
- Sodium: 150mg
- Fat: 2g
- Saturated Fat: 0.5g
- Unsaturated Fat: 1g
- Trans Fat: 0g
- Carbohydrates: 23g
- Fiber: 1g
- Protein: 4g
- Cholesterol: 0mg