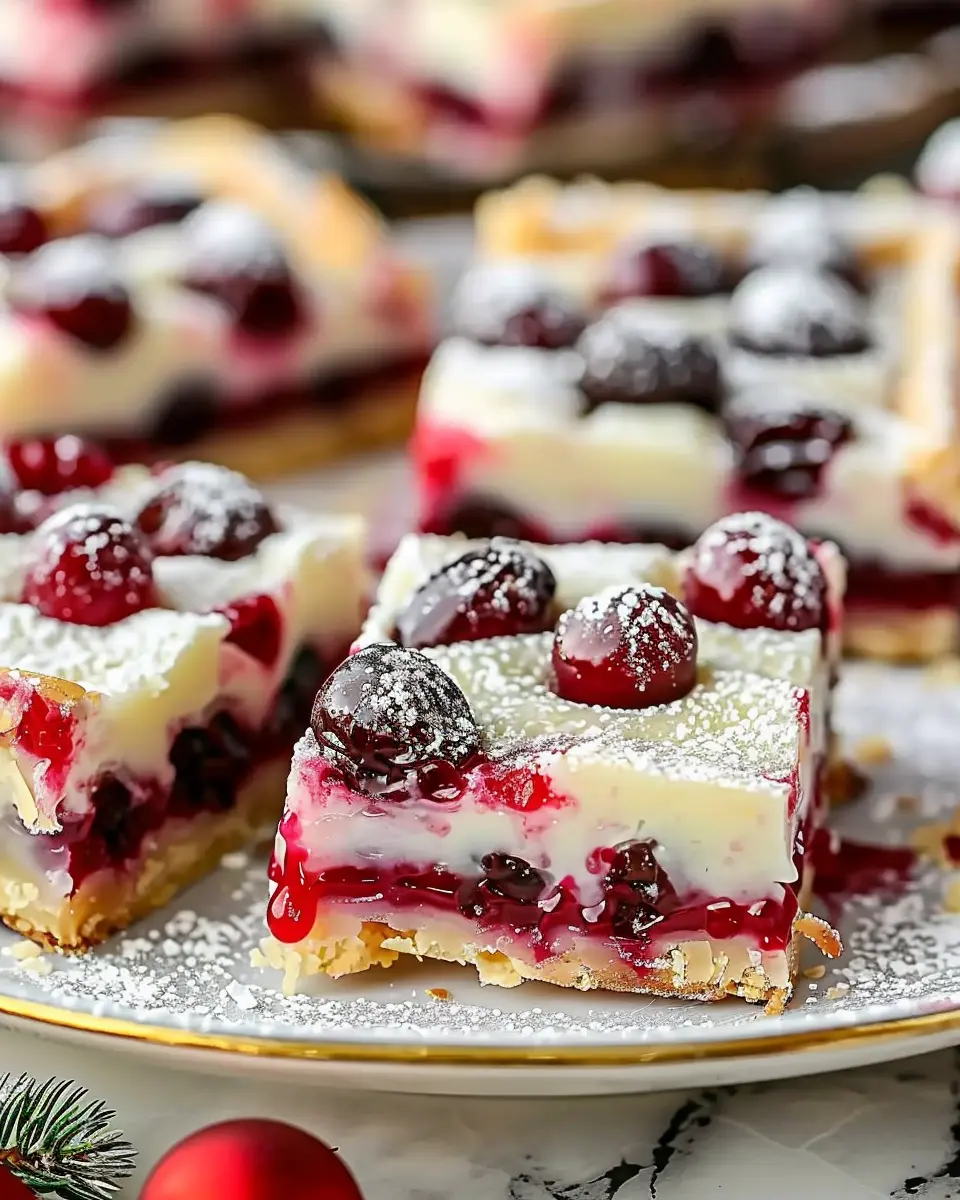
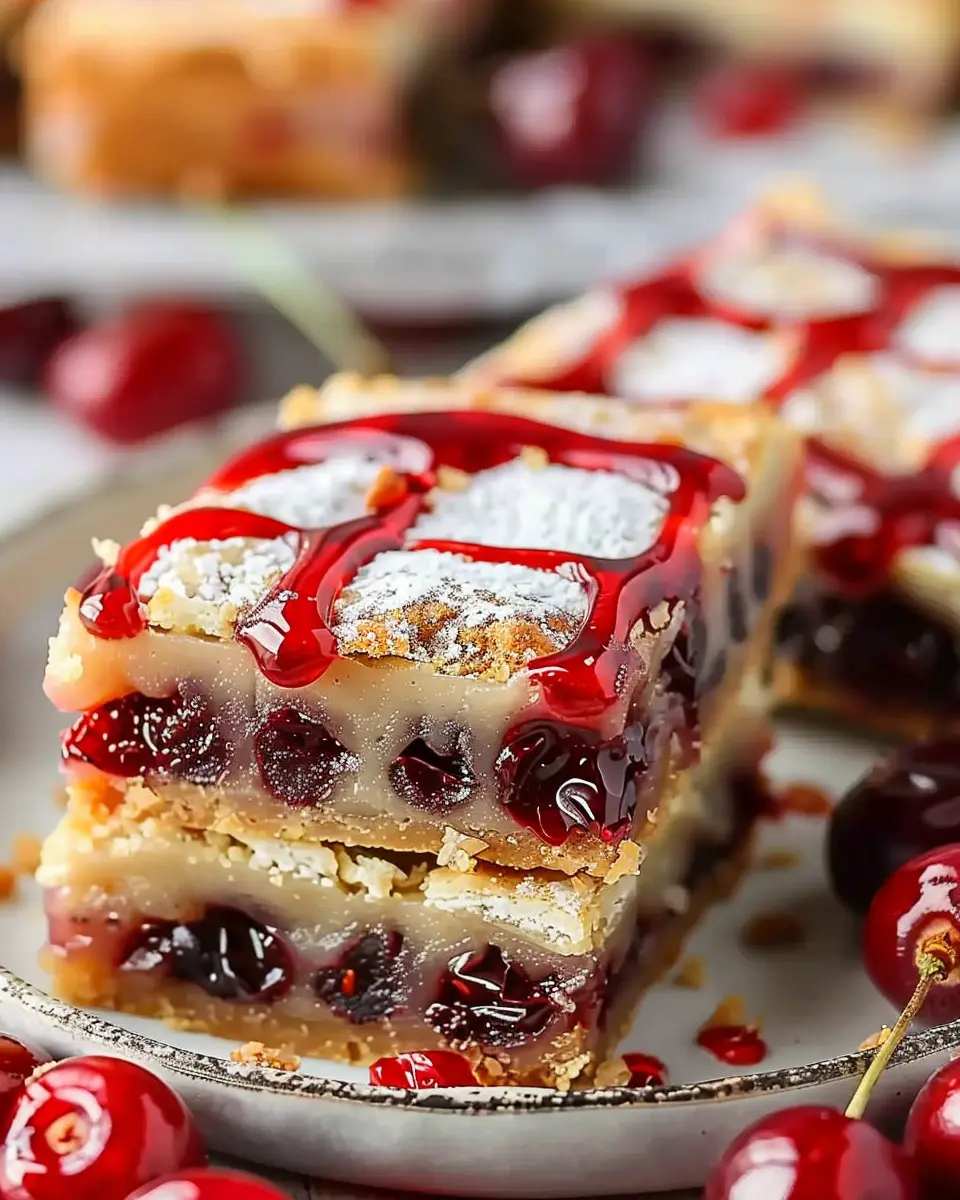
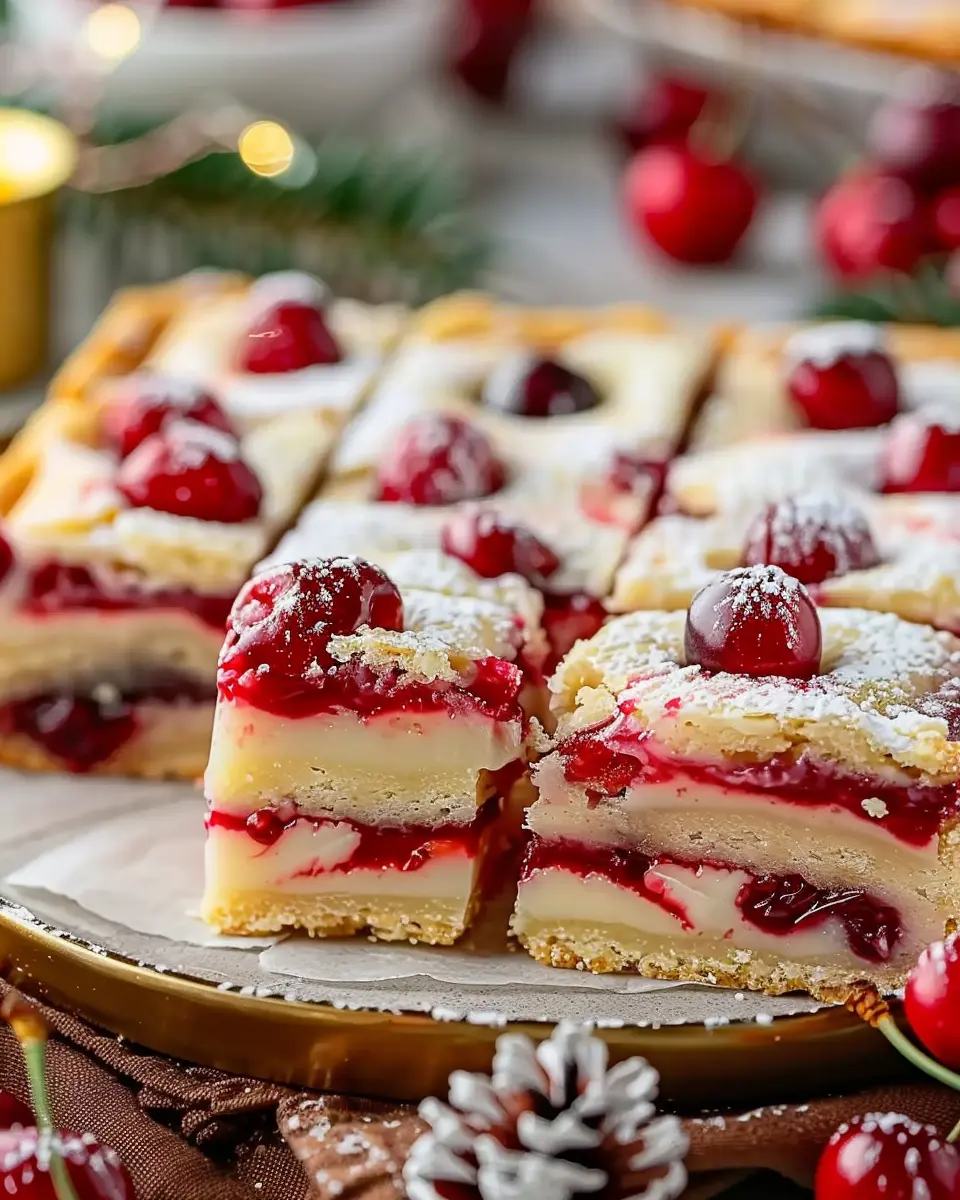
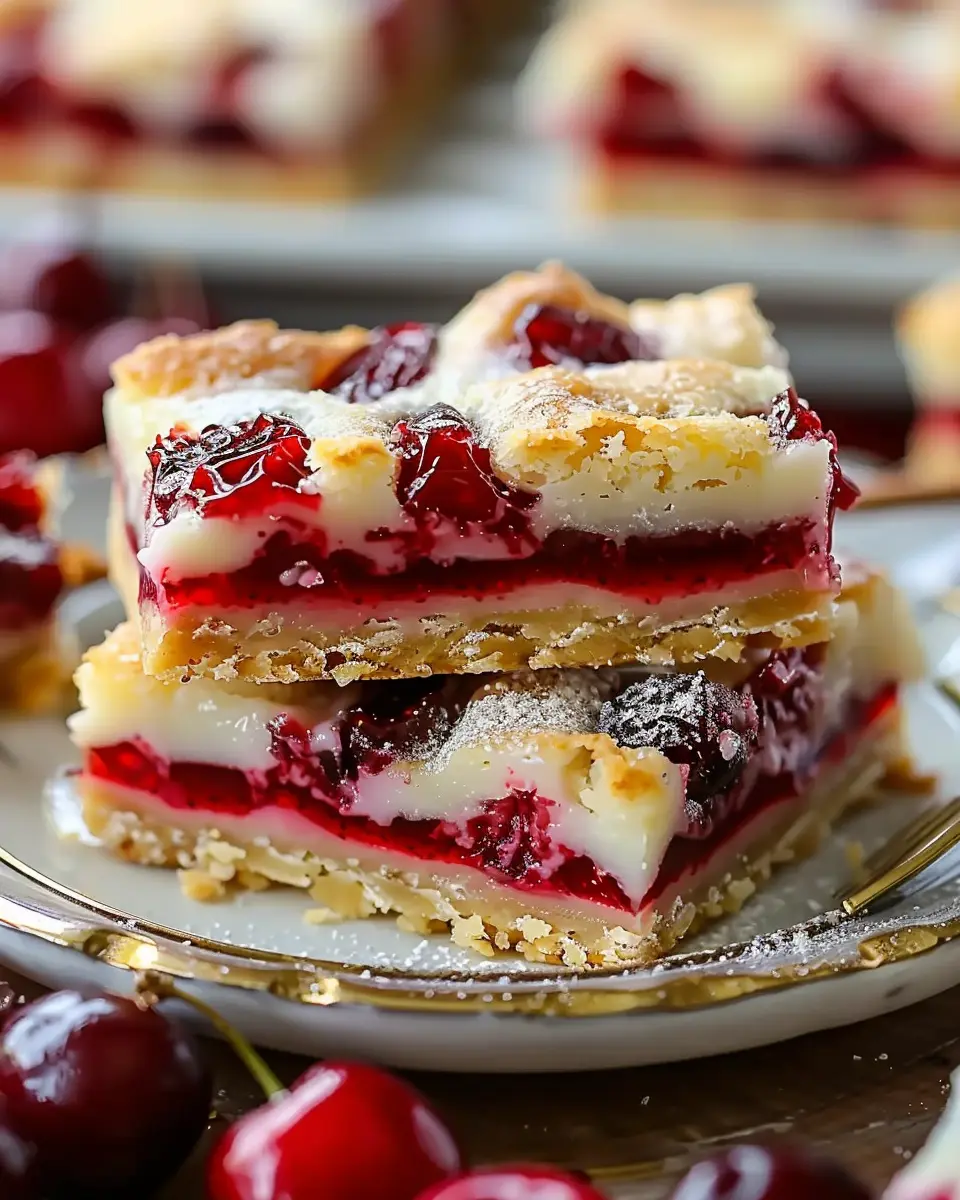
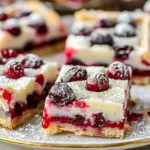
Introduction to Christmas Cherry Bars
When the holiday season arrives, it’s time to indulge in delicious treats that evoke the festive spirit. One dessert that perfectly embodies the flavors and joys of Christmas is the Christmas Cherry Bars. More than just a sweet treat, these bars combine the rich taste of cherries with a hint of nostalgia, making them a must-try this holiday season.
Why Christmas Cherry Bars are a must-try this holiday season?
There’s something irresistible about the bright, festive look of Christmas Cherry Bars. Their vibrant red color makes an instant impression on any holiday table, adding a cheerful splash to your spread. Beyond their visual appeal, they offer a delightful mouthful—think buttery crust, luscious cherry filling, and a crumbly topping that leaves you wanting more.
-
Tradition Meets Modernity: Many families have their own versions of cherry bars, blending traditional flavors with modern twists. This allows you to experiment and create your unique spin, keeping the festive spirit alive. If you’re interested in exploring more about family traditions around this time, check out this engaging article on holiday baking traditions.
-
Quick and Easy: One of the best things about Christmas Cherry Bars? They don’t require hours of slaving away in the kitchen. Most recipes can be whipped up in under an hour, allowing you to focus on more important holiday activities like decorating, shopping, or catching up with loved ones.
-
Perfect for Sharing: Whether you’re heading to a holiday party, hosting friends over for game night, or simply want to treat your coworkers, these cherry bars are the perfect portable dessert. They cut easily into squares, making them simple to share without the mess.
As you dive into this Christmas season, don’t overlook the joy that Christmas Cherry Bars can bring to your celebrations. Not only do they taste fantastic, but they also evoke warm memories and create new ones with every bite. So, roll up your sleeves, gather your ingredients, and get ready to impress your friends and family with this delectable holiday treat!
Ingredients for Christmas Cherry Bars
Creating delightful Christmas Cherry Bars at home is not just a culinary adventure—it’s a way to spread joy and charm to your holiday gatherings. To make these scrumptious bars, be sure to gather these essential ingredients:
- 1 cup of unsalted butter: Adds a rich flavor and maintains moisture in your bars.
- 2 cups of all-purpose flour: The foundation that gives structure to your dessert.
- 1 cup of granulated sugar: A sweet touch that harmonizes perfectly with the cherries.
- 1/2 cup of brown sugar: For that deeper, caramel-like flavor, it’s a must-have!
- 2 large eggs: The binding agents that help hold everything together.
- 1 teaspoon of vanilla extract: A hint of vanilla elevates every bite.
- 2 cups of tart cherries, pitted: These are your star ingredients! Fresh or canned will work beautifully.
- 1/2 teaspoon of baking powder: To give your bars that delightful lift.
- 1/4 teaspoon of salt: Enhances all the other flavors.
Gather these ingredients, and you’ll be well on your way to whipping up a batch of Christmas cheer. For those unable to find tart cherries, consider alternatives like cranberries or blueberries for a different twist. Happy baking!
If you’re interested in more cherry recipes, you might want to check out this source for inspiration!
Step-by-Step Preparation of Christmas Cherry Bars
If you’re looking to sprinkle some festive cheer onto your dessert table, the Christmas Cherry Bars are your ticket to an unforgettable holiday. Not only are they visually stunning with a luscious cherry and white chocolate combo, but they also carry a nostalgia that warms even the coldest winter nights. Let’s dive into how to prepare these delightful bars that are sure to impress your friends and family!
Gather Your Ingredients
First things first—getting organized is the key to kitchen success! For these Christmas Cherry Bars, you’ll need the following ingredients:
- 1 cup unsalted butter, softened
- 1 cup powdered sugar
- 2 cups all-purpose flour
- 1/4 teaspoon salt
- 1 cup cherry pie filling (homemade or canned)
- 1 cup white chocolate chips
- 1 teaspoon vanilla extract
- Optional: Chopped nuts for garnish
Having everything in one place not only saves time but also keeps the process smooth and stress-free. Plus, you can enjoy the delightful aromas of ingredients like cherries and baking chocolate wafting through your kitchen—who wouldn’t want that?
Prepare the Buttery Shortbread Base
Now that you have your ingredients, it’s time to build the foundation of your bars. The shortbread base is simple yet essential.
- Preheat your oven to 350°F (175°C) and grease a 9×13 inch baking dish.
- In a mixing bowl, cream together the softened butter and powdered sugar until light and fluffy—about 3 minutes.
- Gradually add in the flour and salt. Mix until you have a smooth dough.
- Press this dough evenly into the bottom of the prepared baking dish.
This buttery layer sets the stage for the delicious cherry and white chocolate goodness to come. Shortbread is the perfect balance to the tart cherries, adding a nice crunch that’s oh-so-satisfying.
Combine the Cherries and White Chocolate
With your shortbread base awaiting its toppings, let’s turn our attention to the star ingredients: cherries and white chocolate. This combination will elevate your Christmas Cherry Bars to a whole new level.
- In a separate bowl, gently combine the cherry pie filling and white chocolate chips.
- Add the vanilla extract for that extra depth of flavor.
Tasting this mixture at this stage is a must—it’s not just about making a dessert, it’s about relishing every step!
Assemble the Layers
The fun part is assembling your Christmas Cherry Bars.
- Pour the cherry and white chocolate mixture over the pressed shortbread base, spreading it evenly with a spatula.
- If you’re feeling adventurous, sprinkle some chopped nuts on top for added texture and flavor.
This beautiful concoction will create layers of flavor—sweet cherries against a buttery backdrop, and white chocolate tying it all together.
Bake to Perfection
Last but not least, it’s time to bake!
- Place your baking dish in the preheated oven and bake for about 35 minutes, or until the edges are golden and the center is set.
- Once baked, remove from the oven and let it sit for about 10-15 minutes before slicing. This allows the layers to firm up a bit for cleaner cuts.
Before you dive in, consider decorating the bars with a dusting of powdered sugar or a drizzle of melted chocolate on top—because who doesn’t love a little extra flair?
Once you take that first bite, you’ll agree that these Christmas Cherry Bars are not just a treat; they’re a holiday tradition waiting to happen. So, gather your friends or family, and create a baking memory that will last a lifetime! Happy baking!
For more delightful Christmas treats, check out BBC Good Food and Serious Eats for inspiration.
Variations on Christmas Cherry Bars
When it comes to holiday baking, Christmas Cherry Bars offer a delightful, chewy treat that’s easy to customize. Here are two festive variations that add exciting flavors and textures to your holiday spread.
Cherry-Pistachio Christmas Bars
Imagine sinking your teeth into a fudgy cherry bar, only to discover the delightful crunch of pistachios. This variation balances the sweetness of cherries with the subtle nuttiness of pistachios.
Ingredients:
- Substitute half the almonds with chopped pistachios in your base recipe.
- Add a sprinkle of chopped pistachios on top for a beautiful crunch.
This festive treat not only looks stunning but also presents a lovely flavor contrast that will impress your guests. If you’re looking for a unique gift idea, these bars are perfect packed in a holiday tin.
Dark Chocolate Cherry Bars
For the chocolate lovers among us, dark chocolate takes Christmas Cherry Bars to new heights. The bitterness of dark chocolate pairs harmoniously with the tartness of the cherries for an indulgent dessert.
Ingredients:
- Replace the regular chocolate chips with high-quality dark chocolate chips.
- Consider drizzling melted dark chocolate on top for an elegant finish.
This variation elevates the bars, making them a sophisticated addition to your holiday cheese board or dessert table. Remember, choosing high-quality chocolate not only enhances flavor but also supports sustainable cocoa sourcing practices. For guidance, check out this insightful resource on sustainable chocolate production.
Both variations promise to bring a festive touch to your holiday gatherings. Whether you’re a cherry enthusiast or a chocolate devotee, these twists on Christmas Cherry Bars are sure to be a hit this season!
Cooking Tips and Notes for Christmas Cherry Bars
Keeping your butter at the right temperature
The temperature of your butter can make or break your Christmas Cherry Bars—seriously! Aim for slightly softened butter, around 65°F (18°C). This allows for a smooth blend with your sugar, leading to a lovely texture. If your butter is too cold, it won’t incorporate well, resulting in dense bars. A quick tip? Cut your butter into small cubes and let it sit out while you prepare other ingredients.
Importance of cooling before cutting
Patience pays off! After baking, resist the urge to cut into your bars immediately. Allowing them to cool completely is crucial; this gives the flavors time to meld and makes cutting much easier. If you cut while warm, your Christmas Cherry Bars may crumble or lose their shape. A good rule of thumb is to let them cool in the pan for about 30 minutes before transferring them to a wire rack to cool fully.
For more baking tips, consider checking out resources from America’s Test Kitchen or similar trusted culinary websites.
Serving Suggestions for Christmas Cherry Bars
Perfect pairings with beverages
When you’re serving Christmas Cherry Bars, think about pairing them with delightful beverages that will enhance their sweet, tart flavor. A hot cup of spiced apple cider can create a comforting experience, while rich coffee offers a lovely contrast. If you’re in the mood for something refreshing, a cranberry lemonade spritzer is a fun choice that complements the cherry notes beautifully. According to the National Beverage Association, flavored sodas are trending; consider offering a cherry-lime soda as a playful nod to the dessert itself!
Serving at parties versus gifting
Whether you’re serving Christmas Cherry Bars at a festive gathering or gifting them to friends, presentation is key. At parties, display the bars on a decorative platter topped with fresh cherries or a sprinkle of powdered sugar for that holiday sparkle. When gifting, consider packaging them in cute boxes or tins tied with colorful ribbons. This not only keeps them fresh but makes your gift extra special. If you’re looking for presentation inspiration, sites like Pinterest have countless ideas to make your treats shine!
With these suggestions, your Christmas Cherry Bars will surely be a hit, whether shared or gifted!
Time Breakdown for Making Christmas Cherry Bars
When you’re preparing Christmas Cherry Bars, it’s nice to know exactly how much time you’ll need to dedicate. Here’s a helpful breakdown to keep your baking experience smooth and enjoyable.
Preparation Time
First off, you’ll want to set aside about 15-20 minutes for preparation. This time involves gathering your ingredients, whipping up your batter, and layering those delightful cherries.
Baking Time
Next, comes the fun part—baking! Allow approximately 30-35 minutes for your bars to bake to golden perfection. Be sure to keep an eye on them towards the end to avoid over-baking.
Total Time
In total, you’re looking at about 45-55 minutes from start to finish. That’s a small investment for such delicious, festive treats that are perfect for holiday gatherings. Now that you’re armed with a timeline, why not check out some tips on perfecting your baking skills here to elevate your Christmas Cherry Bars even further?
Nutritional Facts for Christmas Cherry Bars
Calories
When indulging in our delightful Christmas Cherry Bars, you can expect to savor approximately 250 calories per serving. This makes them a perfect treat to enjoy without indulging too much during the festive season. Just one bar can brighten up your holiday, allowing you to celebrate without the guilt!
Sugar Content
Each bar contains about 20 grams of sugar, primarily derived from the natural sweetness of cherries and added sugar for flavor. While it’s good to keep an eye on sugar intake, those vibrant bursts of cherry flavor are hard to resist! To learn more about sugar’s impact on health, check out this link.
Total Fats
As for total fats, our Christmas Cherry Bars come in at around 10 grams per serving, with mostly healthy fats coming from ingredients like butter or alternative oils. It’s all about balance; a little fat can create that satisfying texture while making your taste buds dance. If you’re looking for healthier fat alternatives, you might consider using coconut oil or avocado oil, which you can explore here.
Enjoy the holiday season with a treat that strikes a delightful balance between nutrition and indulgence!
FAQs about Christmas Cherry Bars
When baking festive treats like Christmas Cherry Bars, it’s natural to have questions! Here’s a friendly guide to help you make the most of your holiday baking experience.
Can I substitute fresh cherries instead of dried?
Absolutely! While the recipe traditionally calls for dried cherries for their concentrated flavor and chewy texture, feel free to use fresh cherries if that’s what you have on hand. Keep in mind that fresh cherries contain more moisture. You might want to reduce other liquids in your recipe slightly to ensure a perfect texture. Just chop those fresh cherries and enjoy the burst of flavor and color they bring to your Christmas Cherry Bars!
How should I store the leftover bars?
To keep your Christmas Cherry Bars fresh, store any leftovers in an airtight container. You can keep them at room temperature for about three days, but if you want to extend their life, consider refrigerating them. In fact, many say they taste even better after a day in the fridge as the flavors meld together. Just be sure to let them come to room temperature before serving for the best experience!
Can I make these ahead of time?
Definitely! These bars are perfect for making ahead of time. In fact, baking them a day or two in advance can help enhance their flavor. Once baked, cool them completely, then store them as mentioned above. You can also freeze them for up to three months. Just wrap them tightly in plastic wrap and foil, and when you’re ready to enjoy, thaw them overnight in the fridge.
If you’re looking for more baking inspiration, consider checking out resources like the American Bakers Association for tips and community support!
Conclusion on Christmas Cherry Bars
As we wrap up our delightful journey into the world of Christmas Cherry Bars, it’s clear these treats are more than just a festive dessert; they symbolize warmth, joy, and celebration. Whether you’re baking for family gatherings or cozy nights in, these bars are sure to impress.
With their perfectly balanced flavors, they capture the essence of the holidays. Plus, they’re versatile enough for customizing with your favorite ingredients, making them a staple in any celebration.
Don’t miss out on trying new variations—perhaps swapping cherries for cranberries or nuts for chocolate chips. Explore more options by checking out Food Network for inspiration.
So why not bake a batch today and create new memories around the table? Happy baking!
PrintChristmas Cherry Bars: The Easy Indulgence Your Holidays Need
- Prep Time: 15 minutes
- Cook Time: 35 minutes
- Total Time: 50 minutes
- Yield: 12 servings
- Category: Desserts
- Method: Baking
- Cuisine: American
Ingredients
- 1 cup all-purpose flour
- 1 cup granulated sugar
- 1/2 cup unsalted butter, softened
- 2 large eggs
- 1 teaspoon vanilla extract
- 1 can cherry pie filling
- 1/2 teaspoon baking powder
- 1/4 teaspoon salt
Instructions
- Preheat the oven to 350°F (175°C).
- In a large bowl, cream together the butter and sugar until light and fluffy.
- Add the eggs one at a time, mixing well after each addition.
- Stir in the vanilla extract.
- In a separate bowl, combine the flour, baking powder, and salt.
- Gradually add the dry ingredients to the wet mixture, mixing until just combined.
- Spread half of the batter into a greased 9×13 inch baking dish.
- Spread the cherry pie filling over the batter.
- Dollop the remaining batter on top of the cherries.
- Bake for 30-35 minutes or until golden brown and a toothpick comes out clean.
- Allow to cool before slicing into bars.
Notes
- For added flavor, sprinkle some almond extract into the batter.
- These bars can be topped with powdered sugar for a festive touch.
Nutrition
- Serving Size: 1 bar
- Calories: 200
- Sugar: 15g
- Sodium: 200mg
- Fat: 8g
- Saturated Fat: 5g
- Unsaturated Fat: 3g
- Trans Fat: 0g
- Carbohydrates: 30g
- Fiber: 1g
- Protein: 2g
- Cholesterol: 40mg