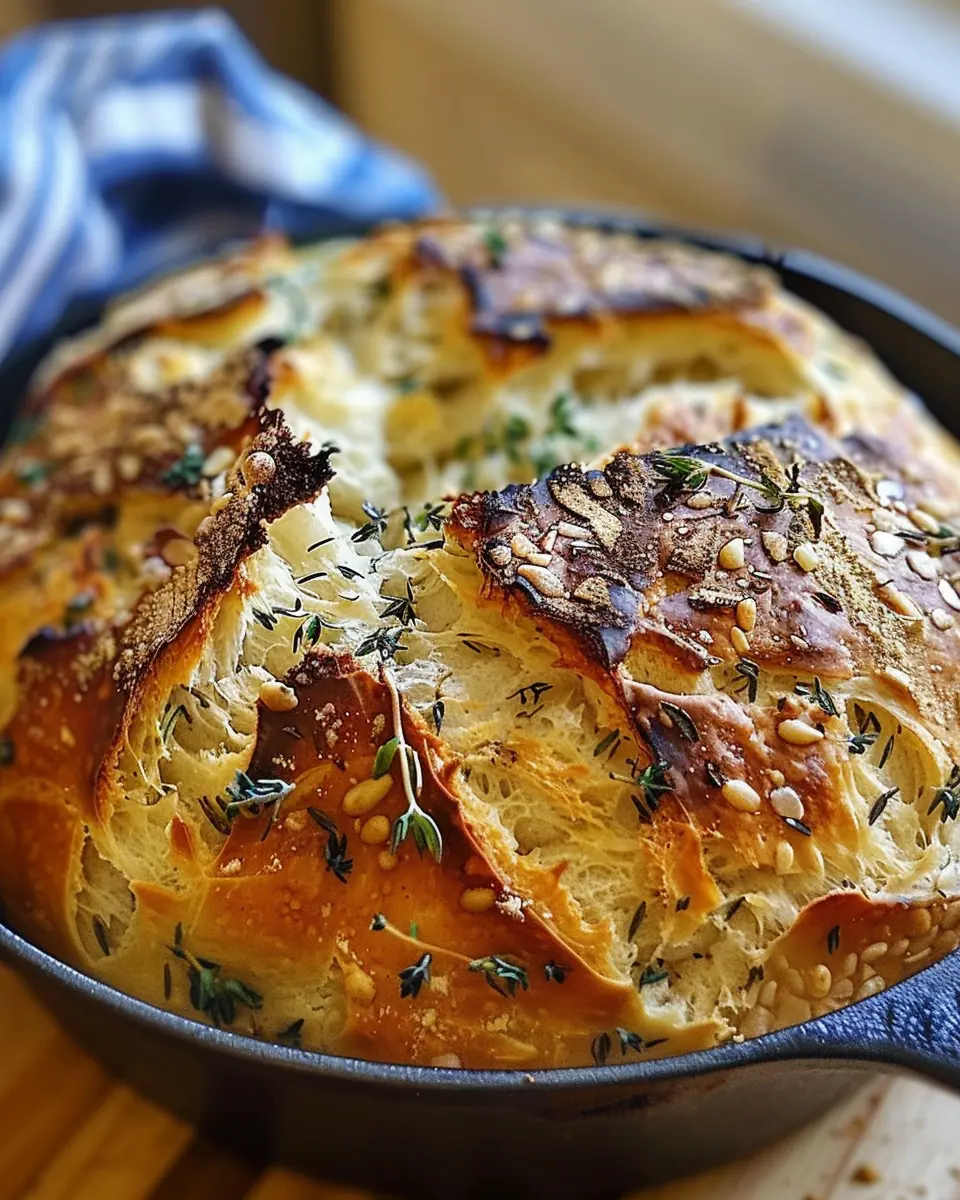
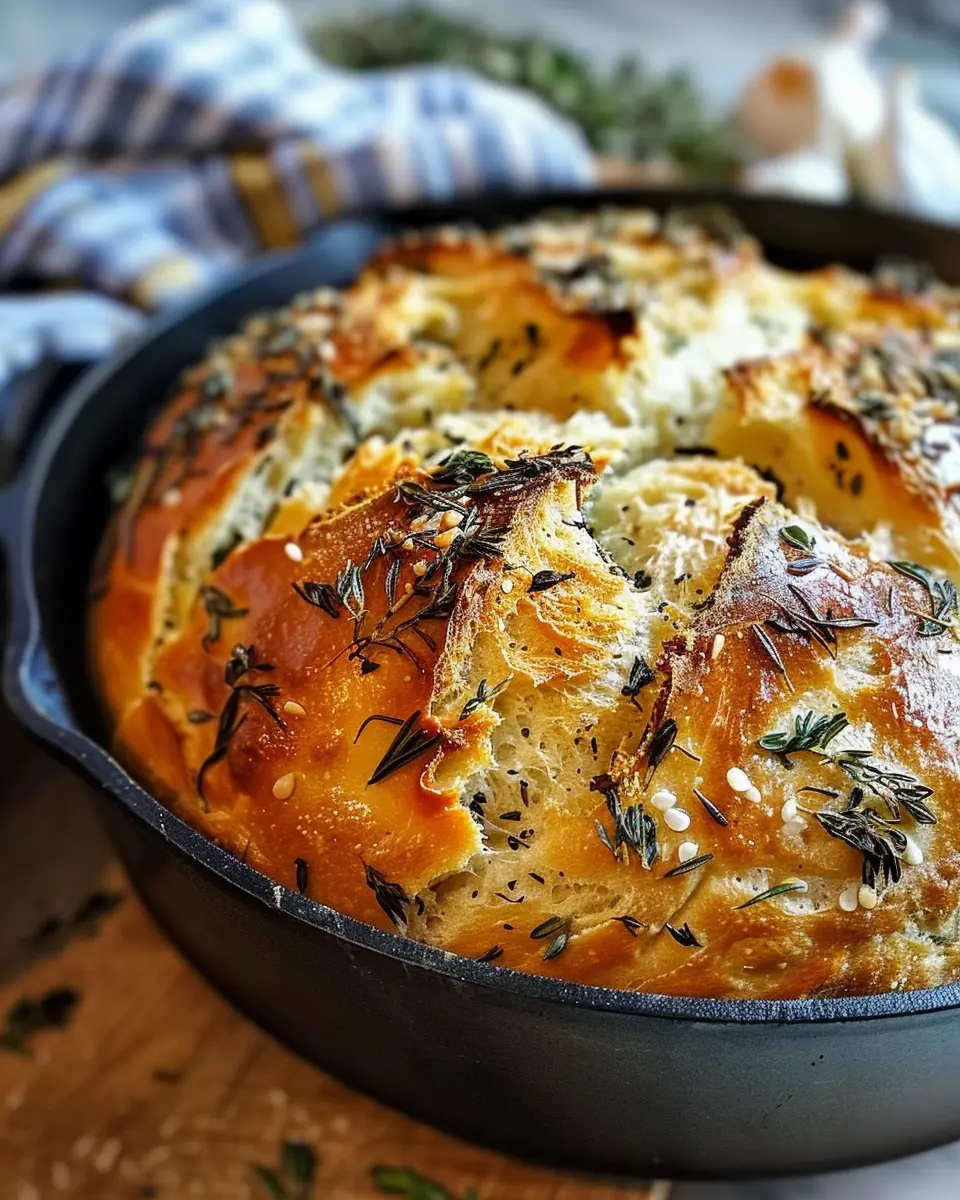
Introduction to Garlic Herb Dutch Oven Bread
Why homemade bread is a game changer
Have you ever taken a bite of freshly baked bread and thought to yourself, “Why don’t I do this more often?” There’s something irresistibly comforting about the aroma of homemade bread wafting through your kitchen. Not only does it fill your home with warmth, but baking your own bread also offers a world of customization. With our garlic herb Dutch oven bread, you can infuse the flavors you love, like zesty garlic and fragrant herbs, creating something truly special for your meals.
Making bread from scratch may sound intimidating, but with a little practice, it becomes second nature. According to a study from the Bread Baking Society, 66% of home bakers report feeling more accomplished when they produce their own bread. Plus, homemade bread is free from preservatives, enabling you to know exactly what you’re eating.
The magic of a Dutch oven
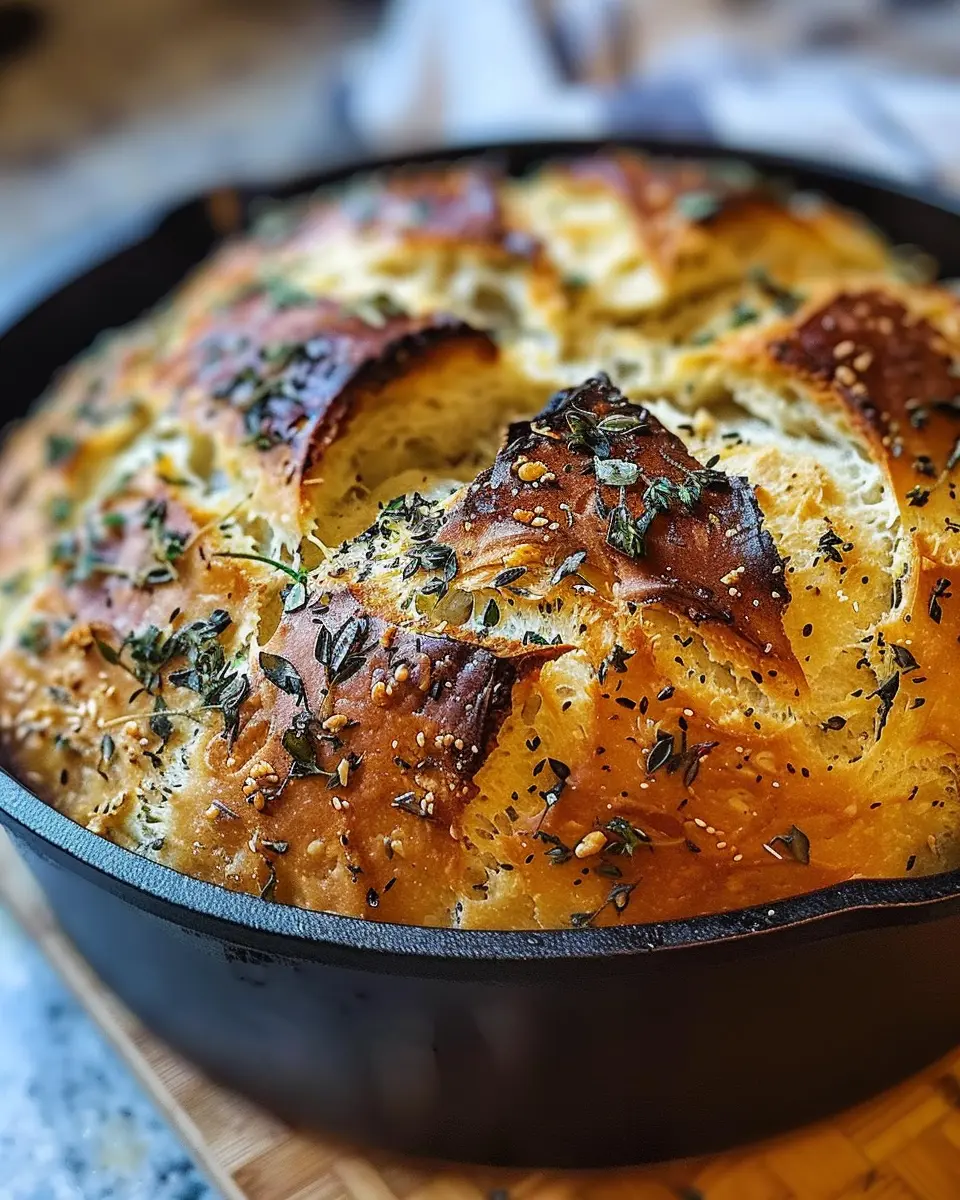
If you’re wondering how to elevate your bread-baking game, look no further than the magic of a Dutch oven. This versatile kitchen tool acts like a mini oven, trapping steam to create a crusty exterior while keeping the inside soft and airy. When you bake your garlic herb Dutch oven bread in one, it rises beautifully and develops that crusty texture we all crave.
Using a Dutch oven is straightforward, making it accessible for even the most novice of bakers:
- Preheat your oven: Get that Dutch oven nice and hot.
- Bake with the lid on: This helps to create steam, resulting in a perfect crumb structure.
- Finish without the lid: This allows the crust to crisp up wonderfully.
Many seasoned bakers swear by this method, and it’s the secret to achieving bakery-quality bread at home. You can read more about the incredible benefits of baking in a Dutch oven on Kitchenaid.
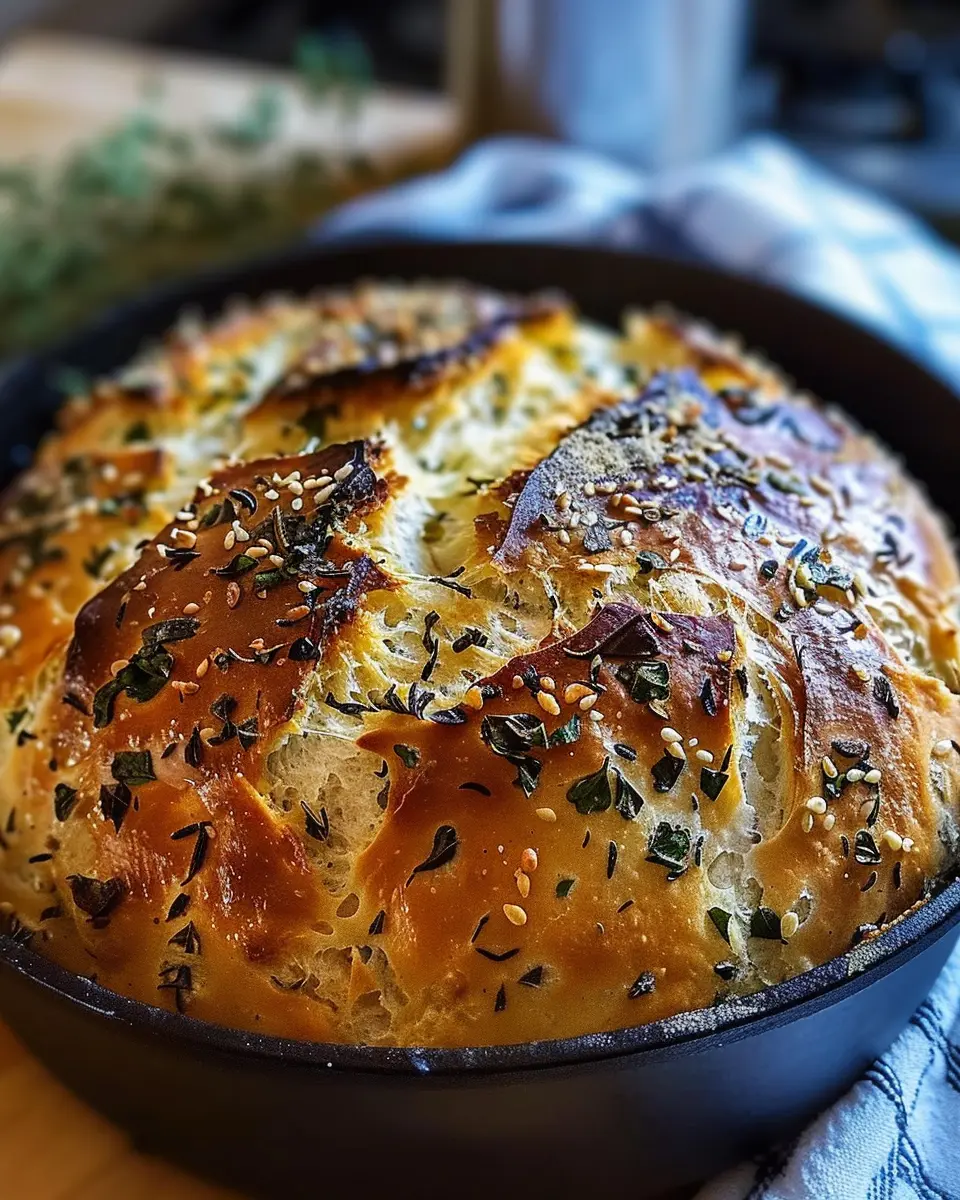
Once you get the hang of it, you’ll find yourself whipping up different variations, from herb-infused creations to sweet versions with dried fruit. So, why not give our garlic herb Dutch oven bread a try? Your taste buds will thank you, and your kitchen will become a hub of deliciousness!
Ingredients for Garlic Herb Dutch Oven Bread
Essential ingredients for perfect bread
When you’re ready to tackle your garlic herb dutch oven bread, you’ll want to gather a few key ingredients that will create that mouthwatering, crusty loaf. Here’s what you’ll need:
- All-purpose flour: The foundation of your bread. Using high-quality flour makes a noticeable difference.
- Warm water: Activate those yeasty magic workers! Just the right warmth helps the yeast thrive.
- Active dry yeast: This is crucial for that light, airy texture.
- Salt: Not just for flavor; it strengthens gluten and enhances the overall bread profile.
- Garlic: Freshly minced or roasted, it adds that rich, aromatic flavor we all love.
- Fresh herbs: Think rosemary, thyme, and parsley to really elevate your bread.
Optional additions to elevate flavors
Feeling adventurous? Consider these optional ingredients to make your garlic herb dutch oven bread truly your own:
- Cheese: Grated Parmesan or shredded mozzarella brings a delightful richness.
- Turkey bacon or chicken ham: For a savory twist, adding in bits of these meats can bring a satisfying heartiness.
- Olive oil: Drizzled on top before baking, it creates a lovely crust and adds depth to the flavor.
- Nuts or seeds: Chopped walnuts or sunflower seeds can bring a wonderful crunch.
By selecting and experimenting with these ingredients, you’re bound to find your perfect loaf! For more tips on baking techniques, check out this detailed guide on bread making.
Remember, it’s all about enjoying the process—and the delicious aroma that fills your kitchen as you bake!
Step-by-step preparation of Garlic Herb Dutch Oven Bread
Making garlic herb Dutch oven bread is not just about baking; it’s about creating an experience. The aroma of freshly baked bread wafting through your kitchen is heavenly and will definitely impress your friends and family. Here’s how to do it step by step!
Combine the dry ingredients
Start by gathering all your dry ingredients:
- 3 cups all-purpose flour
- 1 tablespoon sugar
- 1 tablespoon salt
- 2 teaspoons instant yeast
- 2 teaspoons garlic powder
- 1 tablespoon dried herbs (like rosemary, thyme, or oregano)
In a large mixing bowl, whisk these together until you have a uniform mixture. This is your bread’s foundation, so you want to ensure even mixing. If you’re looking for a deeper dive into the science behind baking, check out resources on Baking Science.
Prepare the wet ingredients
Next, it’s time to focus on the wet ingredients. You’ll need:
- 1 1/2 cups warm water (around 110°F, or comfortably warm to the touch)
- 1 tablespoon of olive oil (for added flavor)
In a separate bowl, mix the warm water and olive oil. The warmth is important because it helps to activate the yeast. Have you ever wondered why bread rises? It’s all about that yeast getting cozy!
Mix until just combined
Pour your wet mixture into the bowl with the dry ingredients. Using a wooden spoon or your hands (my personal favorite!), mix until just combined. It’s okay if it looks a bit shaggy and messy—this is what makes the bread wonderfully rustic. Overmixing can lead to tough bread, so be gentle.
Let the dough rise
Once everything is combined, cover the bowl with a clean kitchen towel or plastic wrap. Let the dough rise at room temperature for about 1-2 hours, or until it has doubled in size. This step is crucial. As the dough rises, the flavors meld together beautifully, and that garlic herb aroma starts to emerge. A warm kitchen will help speed up the rising, so consider placing it near your oven while it preheats.
Shape and prepare the dough for baking
After your dough has risen, turn it out onto a lightly floured surface. Gently shape it into a round loaf. Don’t worry about being perfect—imperfections add character! Let it rest for about 30 minutes. Meanwhile, you can use this time to prep your kitchen and get excited about your garlic herb Dutch oven bread.
Preheat the Dutch oven
While your dough is resting, it’s essential to preheat your Dutch oven. Place it in your oven at 450°F for about 30 minutes. This step is vital because a hot Dutch oven creates the perfect crust while keeping the inside chewy and fluffy. Plus, the sound of the dough sizzling when it first hits the pot is incredibly satisfying!
Bake to perfection
When you’re ready to bake, carefully remove the Dutch oven from the oven. Gently place your shaped dough inside (you may use parchment paper to make this easier). Cover it with the lid and bake for about 30 minutes. After that, remove the lid and bake for another 15-20 minutes until the crust is golden brown.
Your garlic herb Dutch oven bread is now complete! Let it cool on a rack for a few minutes before slicing. Consider pairing it with olive oil or a savory spread with turkey bacon and chicken ham. The result will not just be bread but a conversation starter!
Creating homemade bread isn’t just a culinary task; it’s a delightful ritual that invites warmth into your home. So, gather your ingredients and let the magic happen!
Exploring Delicious Variations of Garlic Herb Dutch Oven Bread
Add-ins: Cheese, olives, or nuts?
One of the best things about garlic herb Dutch oven bread is its versatility. You can easily customize the base recipe with a variety of add-ins to match your taste.
- Cheese: Consider blending in shredded mozzarella, parmesan, or even crumbled feta for a savory twist. Cheese not only adds flavor but creates delightful gooey pockets throughout the bread.
- Olives: Chopped kalamata or green olives can introduce a Mediterranean flair, elevating the flavor profile. Just remember, a little goes a long way, so don’t overdo it!
- Nuts: Think crunchy walnuts or pine nuts for an unexpected twist. Their texture complements the soft bread beautifully, adding a satisfying bite.
These ingredients can transform your garlic herb Dutch oven bread into something spectacular. Plus, experimenting with unique flavors keeps your baking exciting!
Sweet Version: Garlic Herb Focaccia
Who says garlic and herbs are just for savory dishes? Try crafting a garlic herb focaccia for a delightful sweet alternative. Just replace some of the savory ingredients with honey and a touch of cinnamon.
Imagine a soft, fluffy focaccia infused with the classic garlic and herb essence but finished with a drizzle of olive oil and a sprinkle of sea salt. This turns it into a sweet and savory delight that you can serve as a unique appetizer or snack.
Whether you opt for classic add-ins or a sweet version, explore the endless possibilities with your garlic herb Dutch oven bread. Happy baking! For more baking tips and variations, check out resources from sites like BBC Good Food and The Kitchn.
Cooking tips and notes for Garlic Herb Dutch Oven Bread
Tips for achieving the best texture
To create a perfect garlic herb Dutch oven bread, focus on the dough’s hydration. Using a higher water-to-flour ratio results in a lighter, airier crumb. Aim for a sticky dough; it’s more forgiving and lends to better oven spring. Additionally, don’t skip the resting times! Allowing the dough to rise adequately helps develop those gluten structures, creating a delightful chew. You might even want to consider checking out resources like the King Arthur Baking Company for additional insights into yeast bread.
Troubleshooting common issues
Even seasoned bakers face hiccups! If your bread is too dense, try checking your yeast’s expiration date—fresh yeast is key for a fluffy loaf. If the crust is too hard, you can cover it with foil in the final stages of baking or spray the loaf with water before baking for a softer crust. Remember, baking is a science; don’t hesitate to experiment a little! And if you’re curious about dough consistency or baking temperatures, consider looking up expert tips on Serious Eats.
Serving suggestions for Garlic Herb Dutch Oven Bread
Perfect Pairings with Soups and Salads
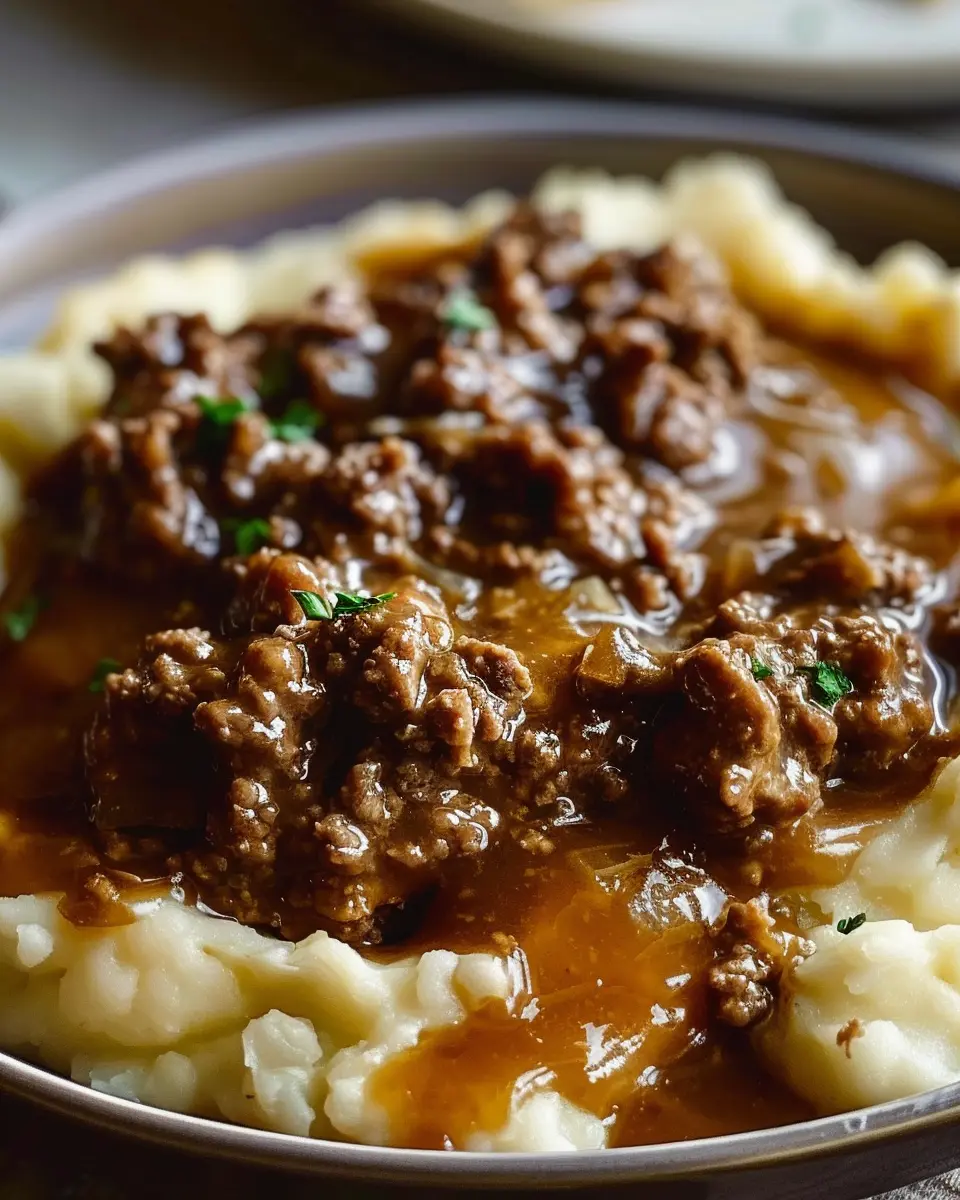
Integrating garlic herb dutch oven bread into your meals is a game-changer for any dining experience. This hearty bread complements a range of dishes beautifully. Consider pairing it with rich, creamy soups like butternut squash or a classic chicken noodle. The bread’s texture makes it perfect for dipping, ensuring you savor every bite. If salads are more your speed, a fresh caesar salad or a vibrant caprese salad can elevate your dining experience when served alongside this bread.
Flavorful Dipping Sauces
Don’t overlook the power of dips! Serving your garlic herb dutch oven bread with flavorful dipping sauces can take your meal to the next level. Think about olive oil infused with balsamic vinegar for a traditional approach or a garlic-infused herb butter to amplify those existing flavors. You can also explore dips like hummus or tzatziki for a fresh twist, perfect for those weekend brunches with friends.
For more ideas on how to elevate your meals, check out resources like Food Network and Serious Eats. Enjoy experimenting!
Time breakdown for Garlic Herb Dutch Oven Bread
When diving into the world of homemade bread, understanding the time involved can make your experience more enjoyable. Here’s a helpful breakdown to guide you through your Garlic Herb Dutch Oven Bread adventure.
Preparation Time
You’ll spend about 15 minutes combining your ingredients and getting everything ready. This includes measuring flour, mixing in the flavorful garlic and herbs, and kneading the dough a bit. It’s the perfect opportunity to put on some music and enjoy the process.
Rising Time
Let your dough rise for approximately 1 hour. This step is crucial as it allows the yeast to work its magic, creating that delightful airy texture we all love in bread. For extra flavor, consider letting it rise longer, even overnight in the fridge!
Baking Time
Once the dough has risen, the baking itself will take about 30-35 minutes. Preheat your oven properly, and make sure your Dutch oven is nice and hot. This ensures a crusty exterior while keeping the inside soft and flavorful.
Total Time
In total, you’re looking at about 1 hour and 50 minutes from start to finish, but don’t worry—most of that is hands-off time! Just think of all the delicious Garlic Herb Dutch Oven Bread you’ll have to enjoy with your meals or as a fantastic snack!
Experimenting with different herbs and seasonings can elevate this bread even further. For tips on perfecting your baking skills, check out resources from King Arthur Baking or The Kitchn. Happy baking!
Nutritional facts for Garlic Herb Dutch Oven Bread
When you’re whipping up a batch of garlic herb Dutch oven bread, it’s great to know what you’re bringing to the table. Here’s a quick breakdown of the essential nutritional facts you should consider:
Calories
Each slice of this delicious bread contains approximately 120-150 calories. It’s a treat that can fit into most dietary plans when enjoyed in moderation.
Carbohydrates
This bread is primarily made up of carbohydrates, offering around 22-25 grams per slice. Pairing it with a protein source, like Turkey Bacon or a hearty soup, can help balance your meal.
Fiber
A serving also includes about 1-2 grams of fiber, contributing to a satisfying and wholesome eating experience. Fiber is essential for digestion and can keep you feeling fuller longer.
If you’re curious about healthy bread recipes, check out more information on The Whole Grains Council. Happy baking!
FAQs about Garlic Herb Dutch Oven Bread
Can I use whole wheat flour?
Absolutely! Using whole wheat flour in your garlic herb Dutch oven bread can add a deliciously nutty flavor and boost its nutritional profile. Just keep in mind that whole wheat flour absorbs more liquid than all-purpose flour. You may need to adjust the hydration in your recipe slightly. A good rule of thumb is to start with about 1 tablespoon more water for each cup of whole wheat used. For more detailed tips on substituting flours, check out this guide on flour types from King Arthur Baking.
How do I store leftover bread?
If you find yourself with extra garlic herb Dutch oven bread (which is likely, given its fantastic flavor), storing it properly ensures it stays fresh. Allow the bread to cool completely, then wrap it in parchment paper or a clean kitchen towel. Place the wrapped bread in a paper bag to keep moisture at bay, or use an airtight container for longer storage. For optimal freshness, consume the bread within 2-3 days. If you want to keep it longer, consider freezing slices for up to 3 months. When you’re ready to enjoy, simply toast or warm them in the oven.
What else can I make in a Dutch oven?
Your trusty Dutch oven is a powerhouse in the kitchen! Beyond making garlic herb Dutch oven bread, you can prepare a variety of dishes, including:
- Hearty stews: Cook up a cozy beef stew or a creamy chicken ham pot pie.
- Soups: A rich tomato basil or creamy vegetable chowder pairs beautifully with fresh bread.
- Roasted meats: Slow-roast a tender turkey bacon wrapped chicken or a juicy beef roast for dinner.
With just a few clicks, you can explore more recipes like these at Serious Eats. Your Dutch oven truly opens up a world of culinary possibilities!
Conclusion on Garlic Herb Dutch Oven Bread
Baking your own bread, especially something as delightful as garlic herb dutch oven bread, is a rewarding experience that can transform your kitchen into a cozy haven. Not only do you get a delicious loaf infused with buttery garlic and fragrant herbs, but the process itself can be quite therapeutic. Do you remember the last time you enjoyed the aroma of freshly baked bread wafting through your home? It’s an invitation for friends and family, making any meal feel special.
So why not give it a try? Embrace the art of baking and savor the satisfaction that comes with creating something from scratch. For tips on perfecting your technique, the King Arthur Baking Company offers a wealth of resources where both novice and experienced bakers can find inspiration. Happy baking!
PrintGarlic Herb Dutch Oven Bread: Best Homemade Comfort Recipe
This Garlic Herb Dutch Oven Bread is the ultimate homemade comfort recipe, perfect for any occasion.
- Prep Time: 18 hours
- Cook Time: 45 minutes
- Total Time: 18 hours 45 minutes
- Yield: 1 loaf
- Category: Bread
- Method: Baking
- Cuisine: American
- Diet: Vegetarian
Ingredients
- 3 cups all-purpose flour
- 1 teaspoon instant yeast
- 1 teaspoon salt
- 1½ cups warm water
- 2 tablespoons olive oil
- 2 tablespoons fresh herbs (such as rosemary and thyme)
Instructions
- In a large bowl, mix together the flour, instant yeast, and salt.
- Add the warm water and olive oil, stirring until a sticky dough forms.
- Fold in the fresh herbs.
- Cover the bowl with a damp cloth and let it rise for 12-18 hours at room temperature.
- Once risen, shape the dough and let it rest for another hour.
- Preheat the oven to 450°F (230°C) and place a Dutch oven inside to heat up.
- Carefully place the dough in the Dutch oven, cover with the lid, and bake for 30 minutes.
- Remove the lid and bake for an additional 15 minutes until golden brown.
Notes
- For best flavor, use fresh herbs.
- Ensure the water is warm but not hot to activate the yeast.
Nutrition
- Serving Size: 1 slice
- Calories: 200
- Sugar: 0g
- Sodium: 300mg
- Fat: 3g
- Saturated Fat: 0.5g
- Unsaturated Fat: 2g
- Trans Fat: 0g
- Carbohydrates: 38g
- Fiber: 1g
- Protein: 7g
- Cholesterol: 0mg