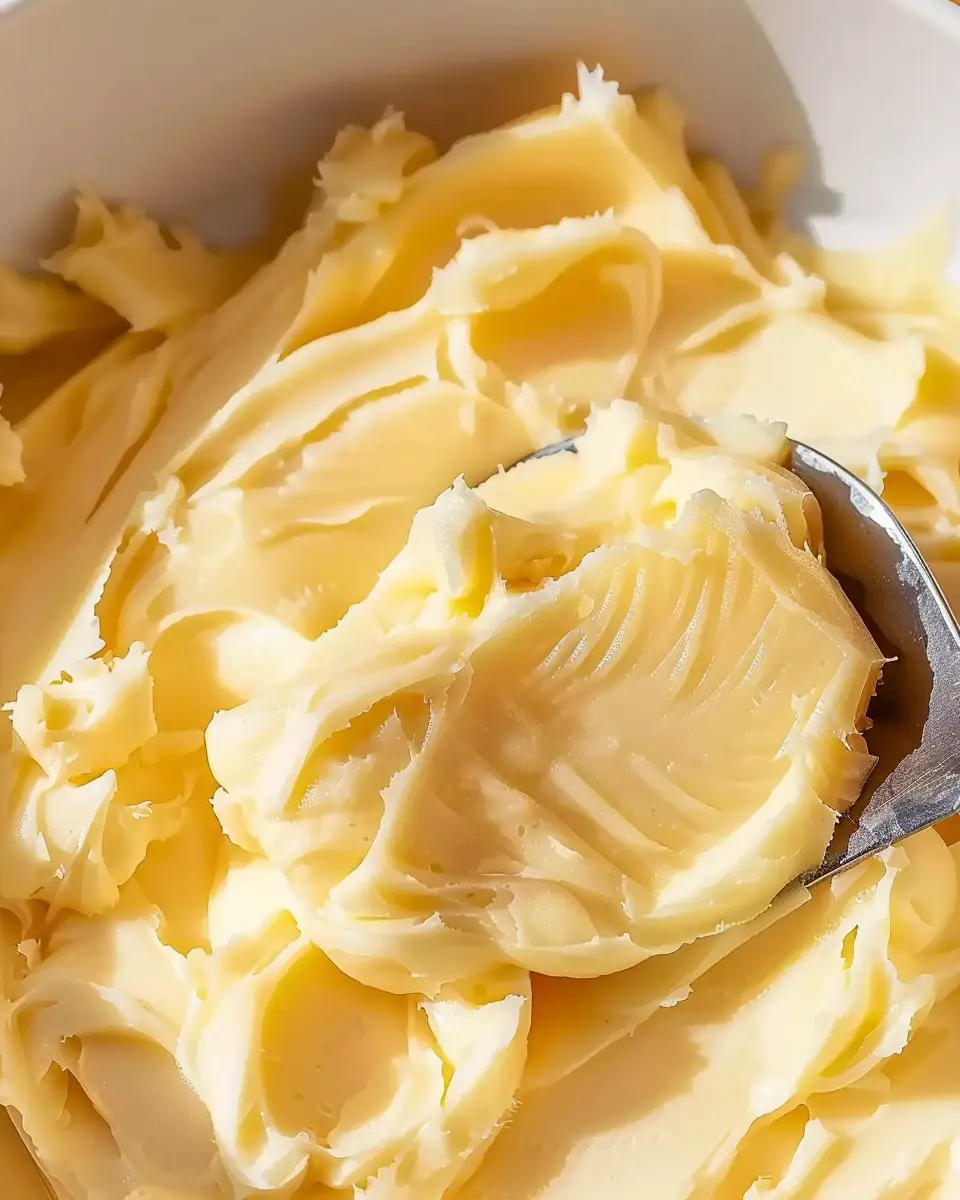
Introduction to Making Homemade Butter
Have you ever considered making your own butter? It might sound a bit extravagant, but let me tell you, it’s a delightful experience that brings satisfaction and a touch of old-world charm to your kitchen. You might be wondering, why even bother to go through the effort when you can just grab a stick from the store? Well, there are plenty of reasons.
Why make homemade butter?
First and foremost, homemade butter is fresher and tastier. When you whip it up yourself, you can truly customize the flavor profile—think of blending in herbs, spices, or even a sprinkle of sea salt. The taste is unparalleled compared to many store-bought varieties, which often contain preservatives and stabilizers. Instead, you’ll be enjoying a silky, rich flavor that elevates your breakfast toast or freshly baked bread to a whole new level.
Another appealing aspect is simplicity. Making homemade butter requires just two ingredients: cream and a pinch of salt! This means you have total control over the quality of your ingredients. Opt for organic cream, and you’ll be well on your way to enjoying a wholesome treat. Numerous studies suggest that natural foods can have a positive impact on our health, a benefit that comes along with this homemade creation.
Not forgetting the fun factor—making your butter can be a fantastic way to bond with friends or family. Picture yourself gathering around the kitchen, churning cream into butter and sharing laughs. It’s a great conversation starter! Plus, if you’re a fan of DIY projects, the process can be quite rewarding.
Lastly, let’s not overlook the cost-effective side of it. Store-bought specialty butters can be pricey, especially for gourmet flavors. With homemade butter, you can enjoy the same luxury at a fraction of the price. So, are you ready to dive into this buttery adventure? Let’s roll up our sleeves and learn how to make homemade butter together!
For more inspiration, you can check out resources from Serious Eats or The Kitchn for tips and variations on this delightful kitchen activity.
Ingredients for Homemade Butter
Basic ingredients for creamy butter
When you decide to make homemade butter, the simplicity of the ingredients is one of the best parts! You’ll need just two key ingredients to start your butter-making journey:
- Heavy cream: Opt for high-quality, heavy whipping cream to achieve that rich, creamy texture. A fat content of 36% or higher is ideal.
- Salt: This is optional, but a pinch of salt enhances the flavor of your butter, making it even more delightful.
For those interested in the science of cream and butter, take a look at this detailed guide by Modernist Cuisine.
Optional ingredients for flavor enhancement
Once you’ve mastered the basic recipe, why not get creative? Here are some fun options to personalize your butter:
- Herbs: Chopped fresh herbs like chives, rosemary, or thyme add a gourmet touch.
- Spices: A dash of smoked paprika or garlic powder can bring new dimensions to your butter.
- Sweeteners: For a sweet twist, consider adding honey or maple syrup, perfect for spreading on toast.
Experimenting with these optional ingredients allows you to create a bespoke butter experience that’s perfectly suited to your taste! Enjoy the process and savor the unmatched flavor of your homemade creation.
Step-by-step Preparation of Homemade Butter
Making your own butter at home can be a delightful culinary adventure. Not only is it surprisingly simple, but the taste of fresh, homemade butter is unbeatable. Let’s dive into the step-by-step process to help you make homemade butter that can elevate your meals to new heights.
Gather your equipment and ingredients
Before getting started, it’s essential to have everything you need on hand to ensure a smooth butter-making experience. Here’s what you’ll need:
-
Equipment:
-
A stand mixer or a hand mixer (a blender can work too)
-
A large bowl
-
A spatula
-
A fine-mesh strainer or cheesecloth
-
An airtight container for storage
-
Ingredients:
-
2 cups of heavy cream (preferably organic)
-
Salt (optional, for seasoning)
-
Additional flavorings like herbs or garlic (if you want to get creative!)
Taking a moment to gather these items before you start can save you time and hassle later. It also makes the entire process feel more exciting!
Prepare the heavy cream for whipping
Now it’s time to get down to business! Pour your cold heavy cream into the mixing bowl. The temperature of the cream is crucial; if it’s too warm, you won’t achieve that perfect texture. Opt for cream that is around 40°F (4°C) to get the best results.
If you have the luxury of waiting, letting the heavy cream sit at room temperature for about 10-15 minutes can help it whip more easily. This gentle warming allows for better aeration when you start mixing.
Whip the cream until butter forms
This is where the magic happens. Using your mixer, whip the cream at medium speed. Initially, it will turn into whipped cream—light and fluffy. Be patient and keep mixing! After around 8-10 minutes, you’ll notice that the whipped cream starts to become grainy.
At this point, you’re on the verge of making butter. Keep whipping until you see separation occurring, which signifies that the butter has formed. You’ll hear a sloshing sound when buttermilk begins to separate from the solid butter. Trust me, it’s a sweet sound!
Separate the buttermilk
Once you’ve reached butter consistency, it’s time to separate the buttermilk from the solid. Pour the mixture through a fine-mesh strainer or cheesecloth, collecting the buttermilk in a bowl. You can save the buttermilk for baking or pancakes because it adds a lovely tangy flavor.
Make sure to press the butter gently with a spatula to extract as much buttermilk as possible. It’s an extra little step, but it’s worth it to ensure your homemade butter lasts longer.
Rinse the butter thoroughly
Now that your buttermilk is separated, it’s time to give your butter a good rinse. Place the butter in a bowl and pour cold water over it. Using your hands or a spatula, gently knead the butter under the water. This process helps rinse away any remaining buttermilk and keeps your butter fresher for longer.
Repeat this rinsing process a couple of times until the water runs clear. It’s amazing how such a little step can significantly enhance the flavor and texture of the final product.
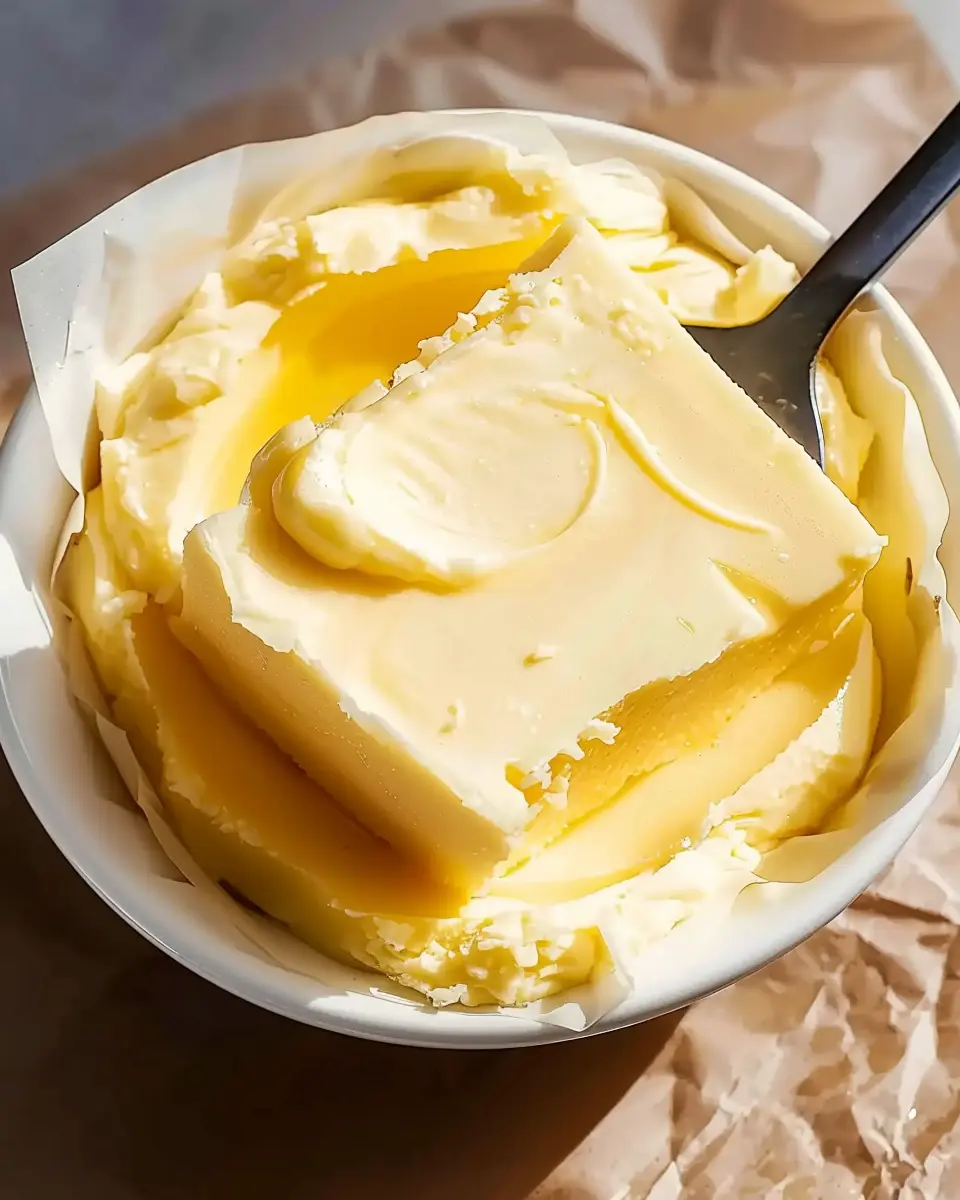
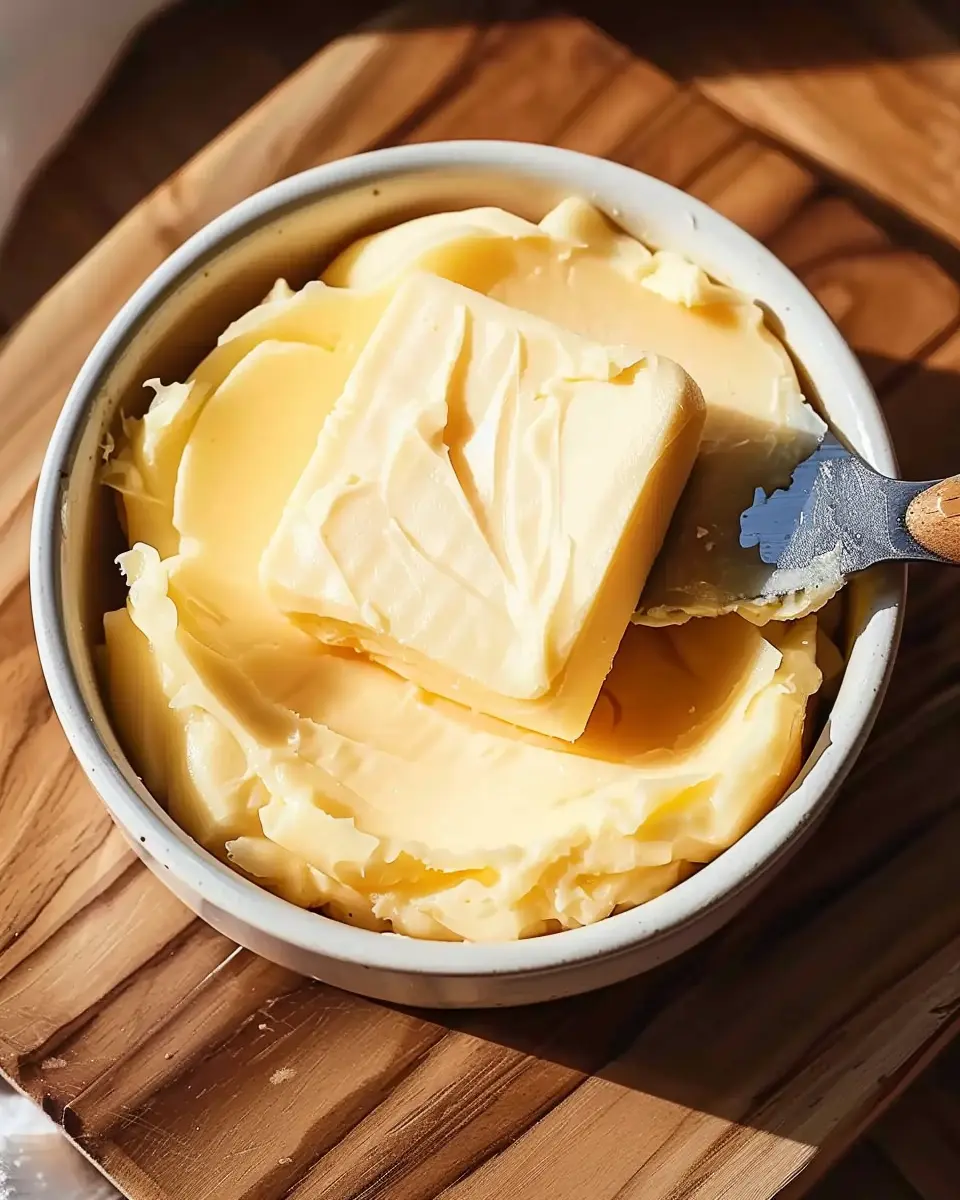
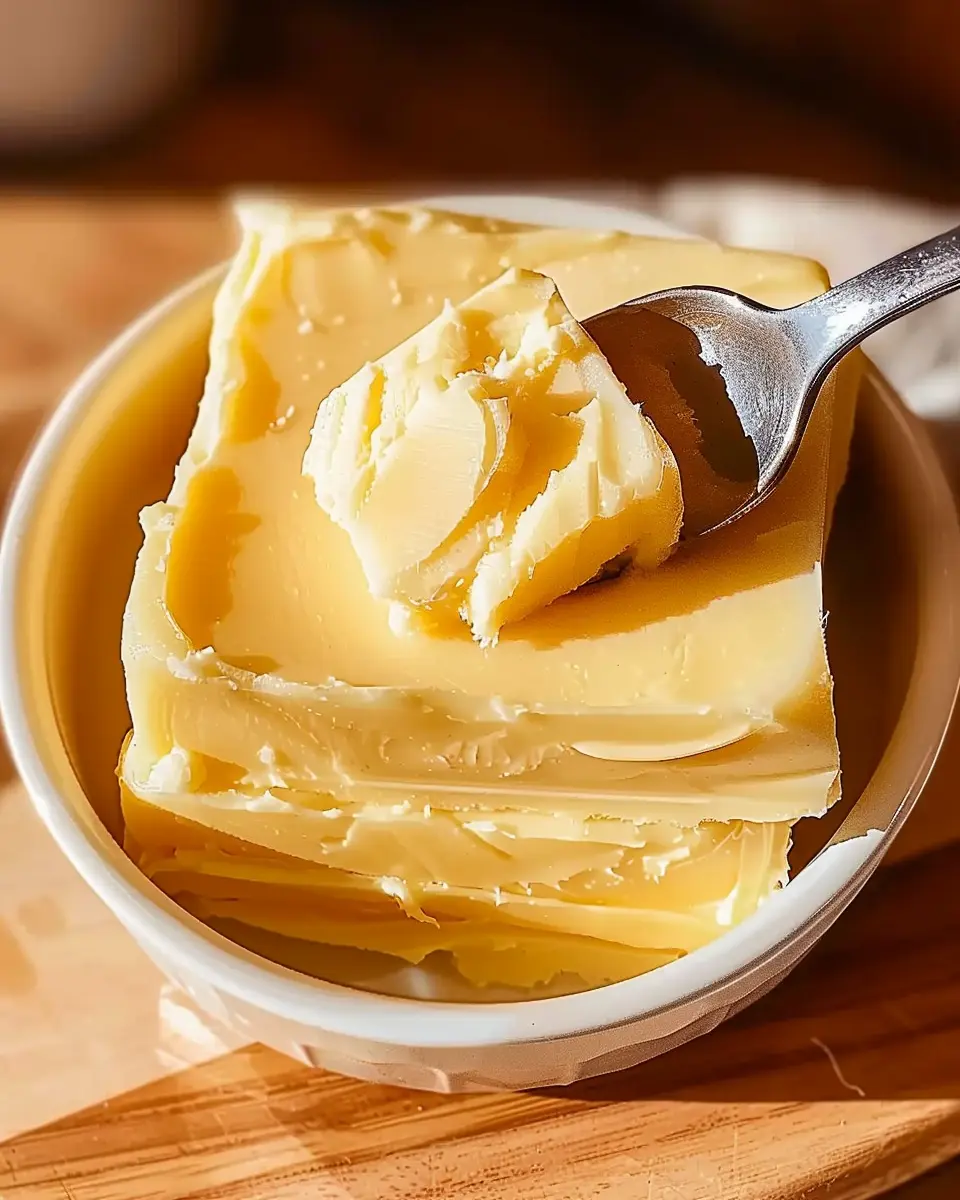
Season and store your homemade butter
You can now enjoy your butter plain, but don’t hesitate to get creative! Add a pinch of salt to taste for a classic salted butter, or mix in your favorite herbs for a gourmet touch. My personal favorite is a sprinkle of fresh rosemary or dill for a unique twist.
Once you’re satisfied with the flavor, transfer your butter into an airtight container. Store it in the refrigerator, where it should last for several weeks. For longer storage, consider freezing it! Just be sure to wrap it well to prevent freezer burn.
There you have it—a complete guide to making homemade butter! Now you can enjoy fresh, creamy butter on your morning toast or in your favorite recipes. Happy butter-making!
Variations of Homemade Butter
Once you’ve learned to make homemade butter, the fun really begins with the many delicious variations you can create! Customizing your butter not only enhances your meals but also impresses your friends at gatherings. Let’s dive into three enticing options that can elevate any dish.
Herb-infused butter for savory dishes
Herb-infused butter brings a delightful freshness to meats and vegetables. Simply soften your homemade butter and mix in finely chopped herbs like rosemary, thyme, or basil. This herb butter can elevate grilled chicken, turkey bacon, or steak, adding aromatic flavors that will leave everyone asking for your secret. You can spread it over warm bread or mix it into pasta for a rich, savory experience.
Sweet honey butter for desserts
If you have a sweet tooth, sweet honey butter is a must-try. Combine softened homemade butter with honey and a dash of cinnamon for a creamy, sweet spread perfect for pancakes, waffles, or fresh muffins. It’s also a fantastic addition to dessert charcuterie boards that will have your guests raving. Plus, honey is naturally antibacterial, making this delicious butter not only tasty but also wholesome.
Garlic butter for flavorful spreads
Garlic butter is a classic addition that packs a flavorful punch. By adding minced garlic and a sprinkle of parsley to your homemade butter, you create the perfect accompaniment for crusty bread or grilled shrimp. It’s also a fabulous topping for baked potatoes or steamed veggies, turning ordinary meals into memorable feasts.
Each of these variations not only enhances your culinary creations but reflects your personality and tastes. So, explore these options and make your homemade butter the star of your kitchen! For more inspiration, consider checking out resources like The Culinary Institute of America or Bon Appétit for fresh ideas.
Cooking Tips and Notes for Homemade Butter
Making butter at home is a delightful experience, and a few handy tips can elevate your homemade butter to another level!
Best Practices for Using Heavy Cream
To truly make homemade butter that shines, always choose heavy cream with a high fat content—ideally around 36% or more. Freshness is key, so look for cream that has a short expiration date. If you have access, organic options often yield richer flavors. Use a stand mixer or a jar and shake vigorously for a fun workout! Remember, the colder the cream, the quicker it will turn into butter.
Importance of Rinsing Butter Properly
Once your butter has formed, rinsing is a crucial step that often gets overlooked. Rinsing your butter under cold water removes any remaining buttermilk, which can lead to spoilage. Aim to rinse until the water runs clear! This ensures a longer shelf life. For extra flavor, consider incorporating herbs or salt after rinsing.
For more tips on dairy products, check out Dairy Farmers of America. Happy butter-making!
Serving Suggestions for Homemade Butter
Perfect pairings with bread and biscuits
Once you make homemade butter, the next step is to discover how to enjoy it to the fullest. Imagine slathering a generous amount on warm, crusty bread or freshly baked biscuits. The simplicity and flavor of homemade butter elevate these treats. For a delightful twist, try pairing it with:
- Fresh croissants: Flaky and buttery, these work wonders together.
- Sourdough bread: Its tangy notes contrast beautifully with creamy butter.
- Buttermilk biscuits: Indulge in comfort food that feels like a warm hug.
If you want to get creative, consider adding herbs, garlic, or spices to your butter for an extra zing. This herb-infused delight can transform an ordinary meal into something special!
Creative uses in cooking and baking
But don’t stop at just spreading! There are so many ways to incorporate your homemade butter into cooking and baking:
- Sauté vegetables: This simple combination can enhance your sautéed greens.
- Roast meats: Rub butter under the skin of your chicken or turkey for juicy, flavorful results.
- Baking: Use it in place of oil or store-bought butter in your favorite recipes for cookies or cakes. The rich taste and texture make a significant difference.
Looking for inspiration? Check out this guide on flavorful cooking techniques to see how versatile homemade butter can be in your kitchen!
Time Breakdown for Making Homemade Butter
Preparation Time
When you decide to make homemade butter, the first thing to consider is the preparation time, which takes about 5-10 minutes. This is when you’ll gather your ingredients—fresh cream is the star of the show here! Remember, choosing quality cream can significantly enhance the flavor of your butter. For a deeper dive into cream selection, check out this helpful guide.
Total Time
The total time to make homemade butter is around 15-20 minutes. Although it seems hard to believe, you can enjoy spreadable goodness in under half an hour! After blending the cream, you’ll need to rinse and knead it a bit, which is part of the fun. So, roll up your sleeves, and get ready for some kitchen magic! If you’re curious about the science behind butter making, this article sheds light on the process.
In total, you’re looking at a quick yet rewarding culinary experience perfect for busy young professionals like you!
Nutritional Facts for Homemade Butter
Calories and Serving Size
When you make homemade butter, know that a typical serving size is about one tablespoon, which is roughly 100 calories. This makes it a rich and flavorful addition to your meals, adding a satisfying creaminess without overwhelming your diet.
Key Nutritional Components
Homemade butter boasts several key nutritional components:
- Fat: With about 11 grams of fat per tablespoon, most of this is saturated fat, which can be part of a balanced diet when consumed in moderation.
- Vitamins: It contains fat-soluble vitamins like A, D, and E, essential for immune function and skin health.
- Minerals: Important minerals like calcium and magnesium support strong bones and overall health.
For a deeper dive into the health benefits of homemade butter, check out this resource on healthy fats from the American Heart Association. Remember, while homemade butter can be a delicious treat, enjoying it in moderation is key to maintaining a balanced diet!
FAQs about Homemade Butter
How long does homemade butter last?
Once you make homemade butter, you’ll want to enjoy it fresh! Typically, homemade butter can last about one to two weeks when stored properly in an airtight container in the refrigerator. For longer storage, consider freezing it—just wrap it tightly, and it’ll keep well for up to six months. You can grate the butter into recipes straight from the freezer, making it a versatile ingredient anytime you need it.
Can I make butter without a stand mixer?
Absolutely! While a stand mixer or food processor makes the job easier, there are other methods. You can use a hand whisk or a jar with a tight lid. Just pour the cream into the jar, seal it, and shake vigorously. It may take a bit longer (around 10 to 15 minutes of shaking), but it’s a fun workout and a great way to engage friends or family in the process.
What can I do with the leftover buttermilk?
Don’t throw away that delightful buttermilk! After you make homemade butter, you’ll have about a cup of buttermilk left over. It’s a fantastic ingredient for:
- Pancakes: It adds a fluffy, tender texture.
- Biscuits: Perfect for creating flaky layers.
- Salad Dressings: It can be used as a creamy base.
- Baking: Incorporate it into your favorite recipes for a tangy kick.
For more creative ways to use buttermilk, you can check out Serious Eats.
Making homemade butter is a rewarding process that also opens up so many possibilities in your kitchen. So roll up your sleeves and get churning!
Conclusion on Making Homemade Butter
In conclusion, learning how to make homemade butter not only elevates your culinary skills but also enhances your meals with fresh, rich flavor. It’s a surprisingly simple process that can bring a sense of joy to your kitchen. Imagine slathering creamy butter on warm toast or using it in your favorite recipes for a decadent touch.
As you explore this delightful venture, remember the satisfaction of creating something from scratch. Whether you’re using it in a savory dish with Turkey Bacon or spreading it on a biscuit, fresh butter really makes a difference. Feel free to share your experiences or tips in the comments — we’d love to hear from you! Happy butter-making!
PrintMake Homemade Butter: The Easy Way to Elevate Your Cooking
Learn how to make homemade butter using simple ingredients and easy techniques.
- Prep Time: 10 minutes
- Cook Time: 5 minutes
- Total Time: 15 minutes
- Yield: 1 cup
- Category: Condiments
- Method: Churning
- Cuisine: American
- Diet: Vegetarian
Ingredients
- 1 pint heavy cream
- 1 pinch salt (optional)
Instructions
- Pour the heavy cream into a mixing bowl.
- Using a hand mixer or stand mixer, beat the cream on medium speed until it thickens and starts to separate.
- Continue beating until the butter separates from the buttermilk.
- Drain the buttermilk and rinse the butter under cold water.
- Add salt to taste if desired and mix well.
- Transfer the butter to a container and refrigerate.
Notes
- Using cold cream helps in making the butter faster.
- If you want flavored butter, you can add herbs or spices during the mixing process.
Nutrition
- Serving Size: 1 tablespoon
- Calories: 100
- Sugar: 0 g
- Sodium: 1 mg
- Fat: 11 g
- Saturated Fat: 7 g
- Unsaturated Fat: 3 g
- Trans Fat: 0 g
- Carbohydrates: 0 g
- Fiber: 0 g
- Protein: 0 g
- Cholesterol: 30 mg